Polymer clay peonies bouquet tutorial

The idea of a polymer clay peonies bouquet tutorial came as I was talking to a friend of mine who makes flower arrangements. She recently was asked to make a peonies bouquet, so why not to have a bouquet that never fades. I absolutely love peonies, they are so fluffy and beautiful!
I’ve made a lot of failed attempts but have finally found a way that I think gives great results! So I thought I’d share it with you
For this polymer clay peonies bouquet tutorials you will need:
– pink, green, fuchsia polymer clay;
– leaf mold;
– pink and green ribbon;
– wire;
– scissor;
First step in making a flower are the petals and when we think about the peonies there are lots of petals involved :). Take pink polymer clay and make lots of drops. Take every drop and curl it on the larger edge as shown in the next picture.
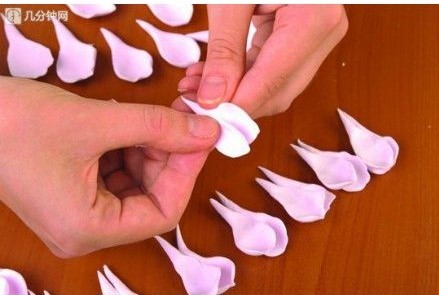
Take the petals and raise them with your hands. Let the middle ones form a bud and then uncoil the petals from the edge
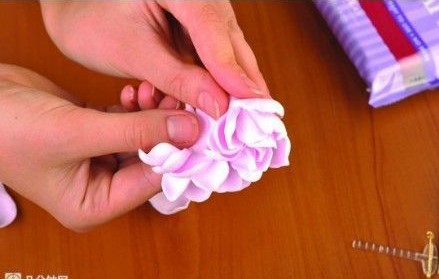
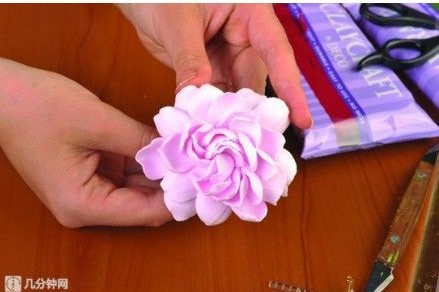
Your peony flower should look like this.
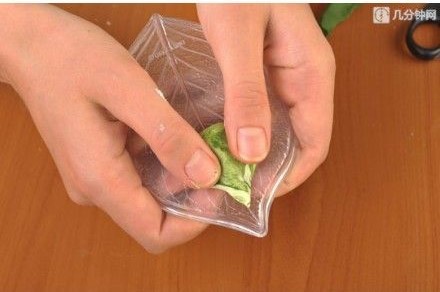
Take green polymer clay and make some leafs. You can use a leaf mold as shown in the picture below or you can use a cuter or a toothpick to create the same effect.
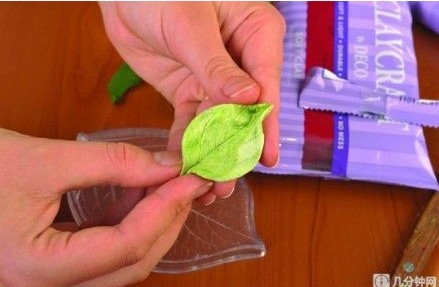
Next step contains in creating the flower buds. Make a ball with pick and fuchsia polymer clay. Add some green polymer clay to create the leaf effect on the bus. Use the next picture to inspire.
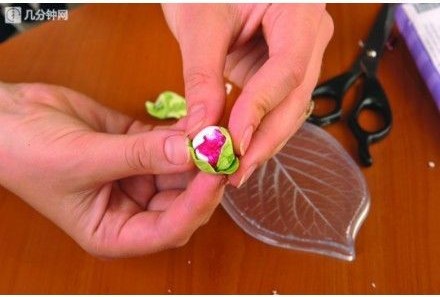
Cut the wire in the length of the flower stems and cover them with green polymer clay. Add the stems to each object you created and combine them. Use the green ribbon to fix them.
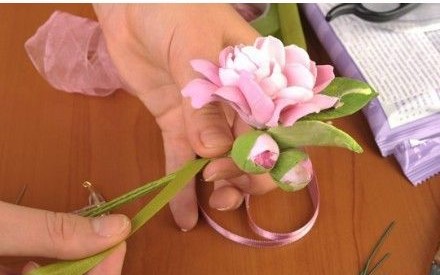
When the bouquet is ready, add some pink ribbon to cover the stems. You can use also roses in this bouquet. Click here to open the roses tutorial.

For more flowers tutorials click here.

Hope you’ll have fun with your peony project ? and I hope that you can use the tutorial.
I find this beautiful tutorial here.
I love this polymer clay peonies bouquet tutorial! What do you think?
Get captivating new tutorials just like this one by following my Pinterest page .
######