Here’s another fun project that I want to share with you: polymer clay gradient beads tutorial to use in colorful jewelry! Over time the polymer clay beads squeezed the most time at my studio, but i’m not complaining. I succeeded to improve my techniques and for sure the amount of necklaces that I hold.
What you will need:
3 colors Polymer clay (white blue, mauve)
pasta machine
line, circle and rectangle shaped cutters
acrylic roller
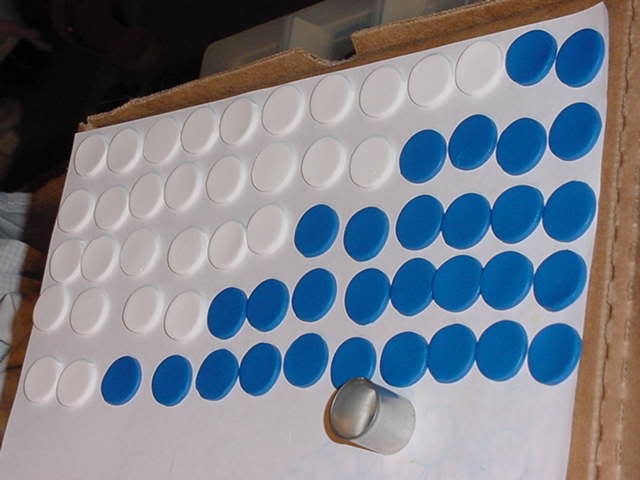
Prepare the clay and roll it out with pasta machine. Use circle cutter to cut pieces as shown in the figure below. Roll each column in the balls and repeat the process with withe and the second color.
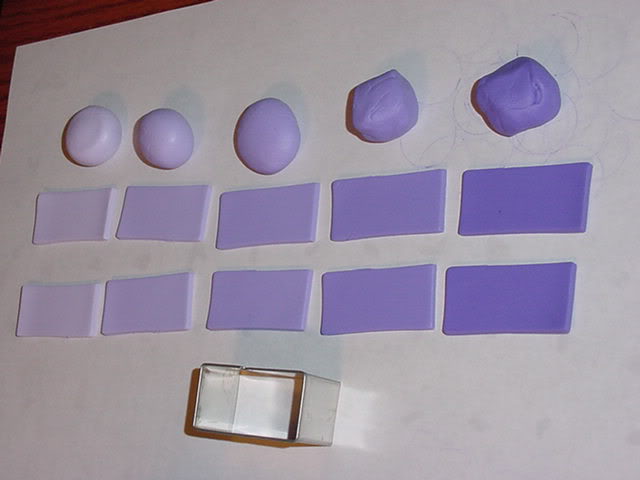
Make a sheet of each ball. For next step you have to cut with the rectangle cutter each sheet.
Stack the colors in order from white to dark. Cut small sheets out of it as shown in the figure below.
Take one sheet of each color and combine them as shown in the next figure.
For next step you have to stagger your slices as shown below.
You should add 11 slices of polymer clay
Cut the figure starting with the darker color of first sheet, in this case the blue one.
Add the pieces you just cut in the front of the shape. The result is in the next photo.
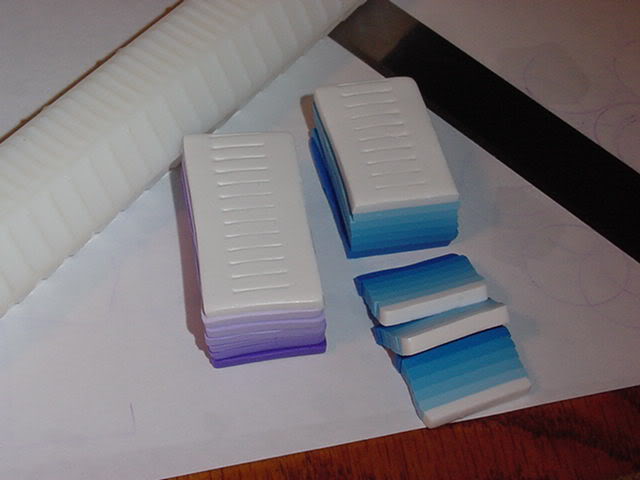
Reduce the size of the polymer clay block and cut it in two pieces and combine them with the lighter inside.
From this polymer clay cane you will cut slices to cover your beads. For more polymer clay ideas click here.
And this are the polymer clay gradient beads you should have if you go through this step by step tutorial.
Here is a nice idea of a polymer clay bracelet from the author.
I find this polymer clay gradient beads tutorial easy to do! What do you think? You can use whatever colors you want, that’s the beauty of clay!
Use this photo to share on pinterest this polymer clay gradient beads tutorial.
For more polymer clay beads ideas click here.
Get captivating polymer clay new ideas and tutorials by following my Pinterest page .
######


