Polymer clay fire flower cane tutorial
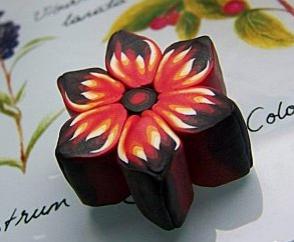
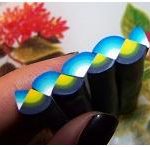
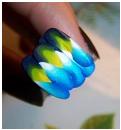
This polymer clay fire flower cane tutorial it’s more complicated than the ones we used to do before, not because of the techniques used but more for attention to details. Below is a orange and black polymer clay flower cane example with this technique.
To proceed with this polymer clay fire flower cane you will need:
– 6 colors of polymer clay
– pasta machine
– rolling pin
– a cutter
For the tutorial you can use whatever colors you enjoy working with. The author chose white, light blue and dark blue for the first gradient cane and yellow, green and dark blue for the second gradient cane.
Step 1:
Make six tiny sheets, one for each color you choose before. Cut a triangle out of it and combine them as shown in the picture below: one with the top up, the next with the top down and the last with the top up.
Step 2:
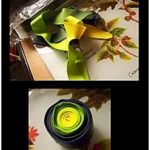
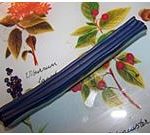
Take the first block (yellow, green and dark blue ) true the pasta machine with the top of the light blue down. Pull the block and repeat the process until you get a continuous color without darker stripes. After you get the continuous color, you need to pull the sheet in the same direction until it reaches the width of a finger. For the last pass through the machine, you will need to rotate the block with the smaller edge down (from landscape to portrait). Roll the sheet you just obtained with the light color inside. Use the image below as an example. Here is a tutorial on this basic polymer clay skinner blends
Repeat the process with the second block consisting of the other three colors. In this example is the block consisting in white, light blue and dark blue polymer clay.
Thin the polymer clay gradient cane blocks you obtained below to the width of a palm
Step 3:
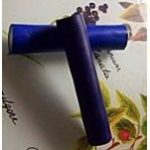
Cut the polymer clay gradient cane blocks in two in length. Take each half and also cut it on half. Use the photo below as an example. You will need to choose one color and cut the quarter of the block one more time in the half, also in length.
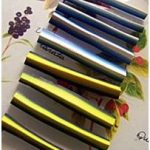
Combine the 9th blocks as shown in the picture below. Basically respecting the rule of combining the blocks from the first step: one with the top down, the next with the top up. Start with the smaller block (the color you have 5 blocks) and add normal size blocks. Do not forget: one top up, one top down! It’s important for the fire effect. Finish adding the blocks with the smaller one.
Press the blocks with a rolling pin or with your fingers to thin the blocks. This is the cane for the petals of the clay fire flower.
Step 4:
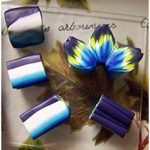
Cut the edges, they usually don’t look good and the remaining block into how many petals you need for your polymer clay fire flower cane. In the middle you can add one gradient cane with the colors from the top of the petals.
Thanks for joining me today. I hope that It was worthwhile to spend your time with me. If you decide to try it in different colors I would love to see your product! For more polymer clay tutorials from this author click here.
Get captivating polymer clay new ideas and tutorials by following my Pinterest page .
######
