How to make a polymer clay geometrical pattern
I’m in my creative mood and I’ve just finished this new tutorial. The products in the oven didn’t even cool down, so I ran to share with you how to make a polymer lay geometrical pattern. This is an easy tutorial, so beginners or even the advanced ones are welcome to join the process.
Step by step instructions on how to make polymer clay geometrical pattern
Tools for making the earrings
– four colors of clay ( I used beige, olive green, grey and mustard)
– roller
– classic knife cutter
optional: drilling tool/ a toothpick/ tweezers (you can use the cutter but it will be a bit harder this way)
Step 1:
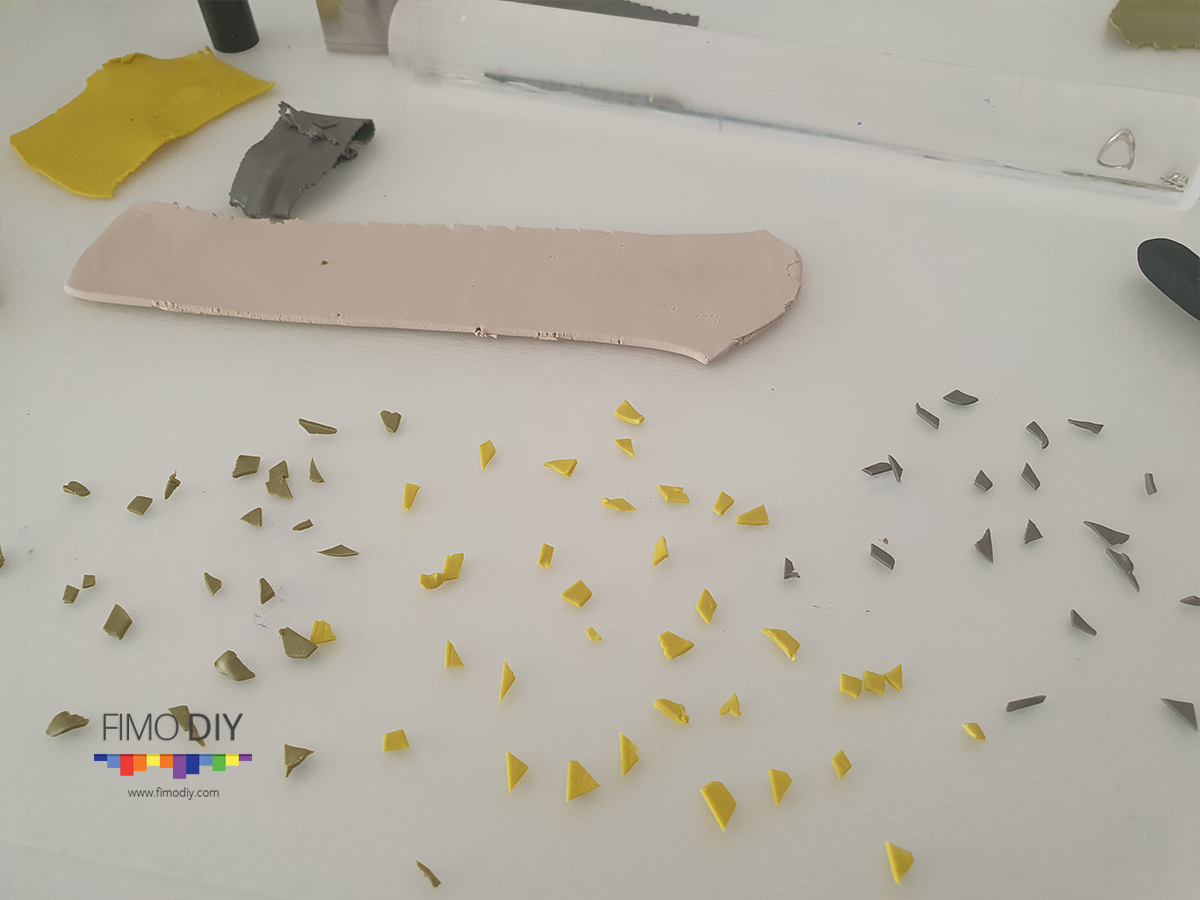
For the first step we’ll create thinner sheets out of 3 colors and a thicker one of the remaining color. The thicker color will be the base. The thinner sheets will be used for the pattern. I use beige for the base and made the sheet on the first size of the fimo pasta machine. For the thinner sheets I use the machine at smallest size, in my case 9. This is how they look.
Step 2:
Cut out of all the thinner sheets small geometrical shapes.

Step 3:
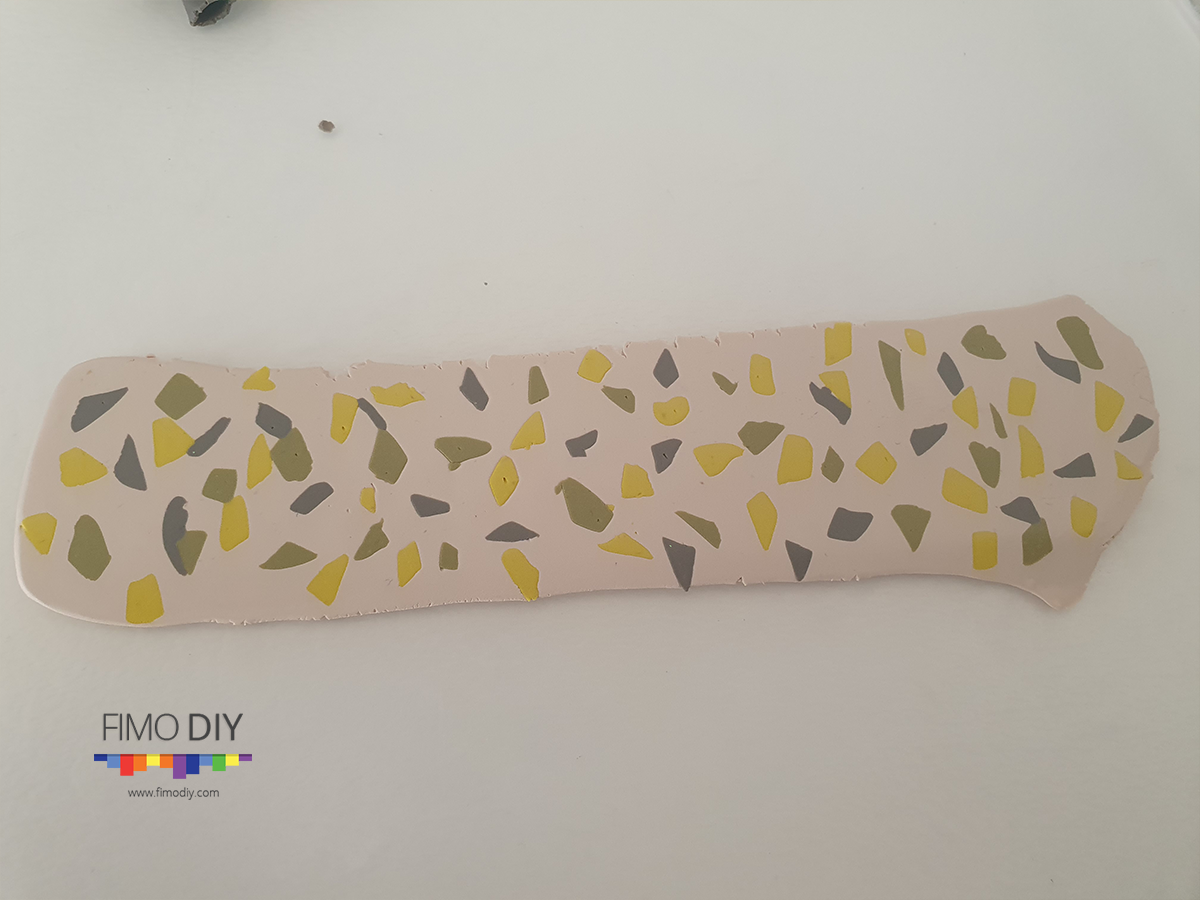
Add to the base the geometrical shapes you created on step 2.

Step 4:
Take the roller and stretch the base. This way the pattern will no look like added, it will become will become a whole.


Congratulations! By following the step by step instructions of this tutorial you learned how make polymer clay geometrical pattern. Here is a page with the earrings I’ve made out of this pattern.
Click here for free dyi fimo/polymer clay tutorials and save the link on your bookmarks because you will definitely want to check it frequently for ideas and inspiration.
Until next time I wish you all to be creative! I’m always open to suggestion, please leave a comment. Your opinion is valuable for me.
Don’t forget to follow my Pinterest page. It’s the best way to keep updated with free polymer clay tutorials and clay ideas to increase your creativity.
######
