Polymer clay Mokume Gane necklace ideas
A new trend has been set: polymer clay mokume gane necklace. I gathered for you some ideas that I find it interesting.
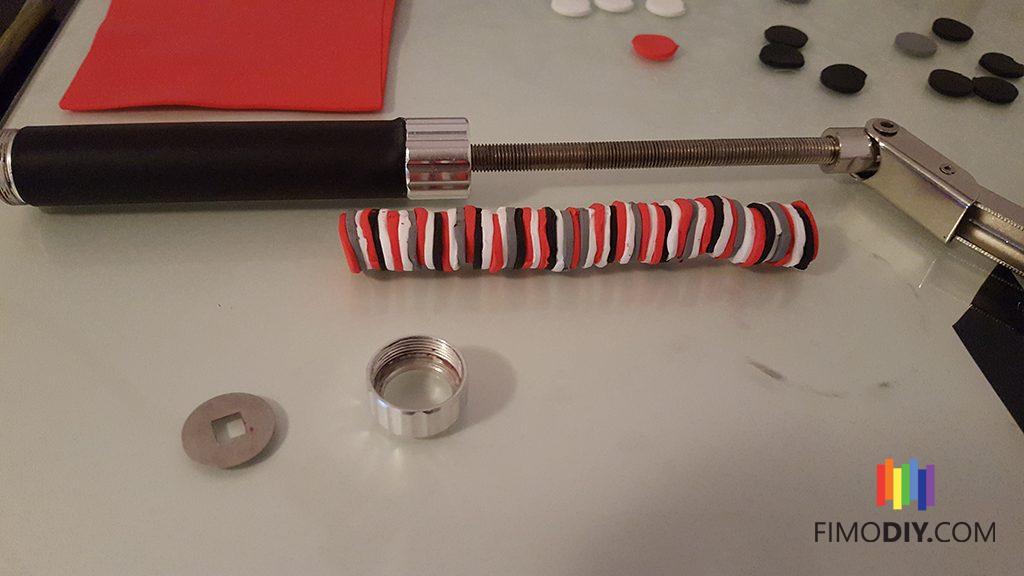
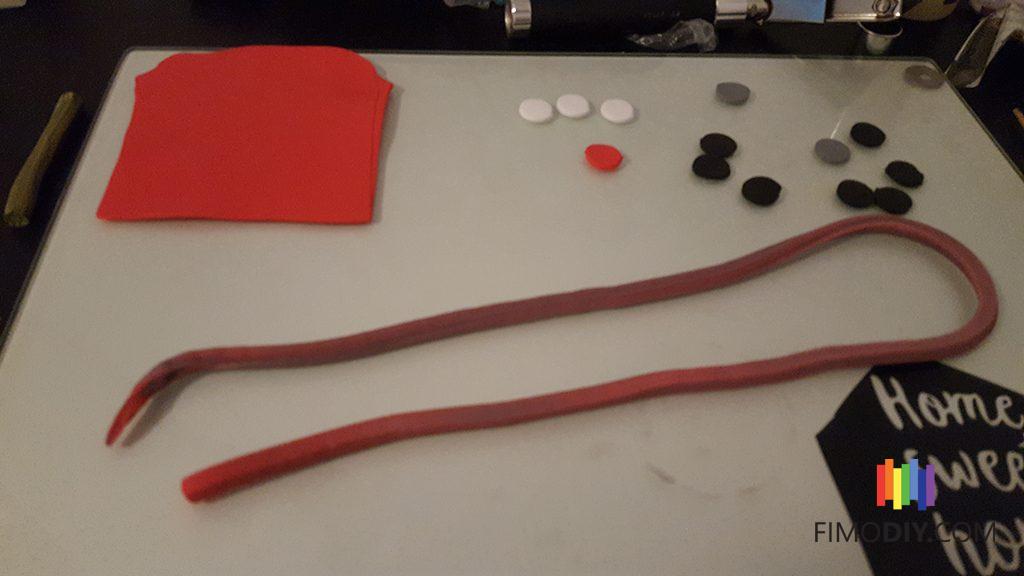
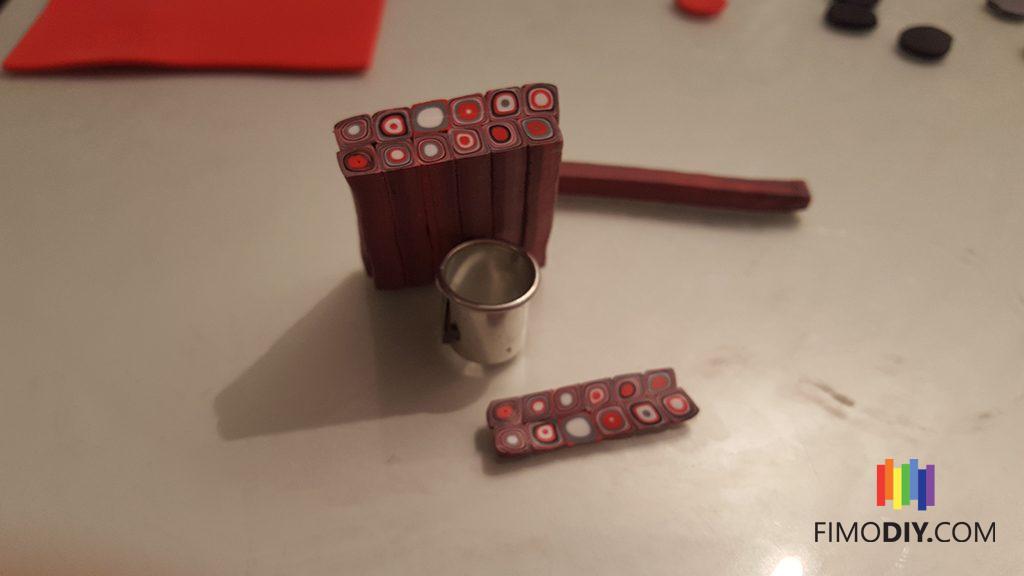
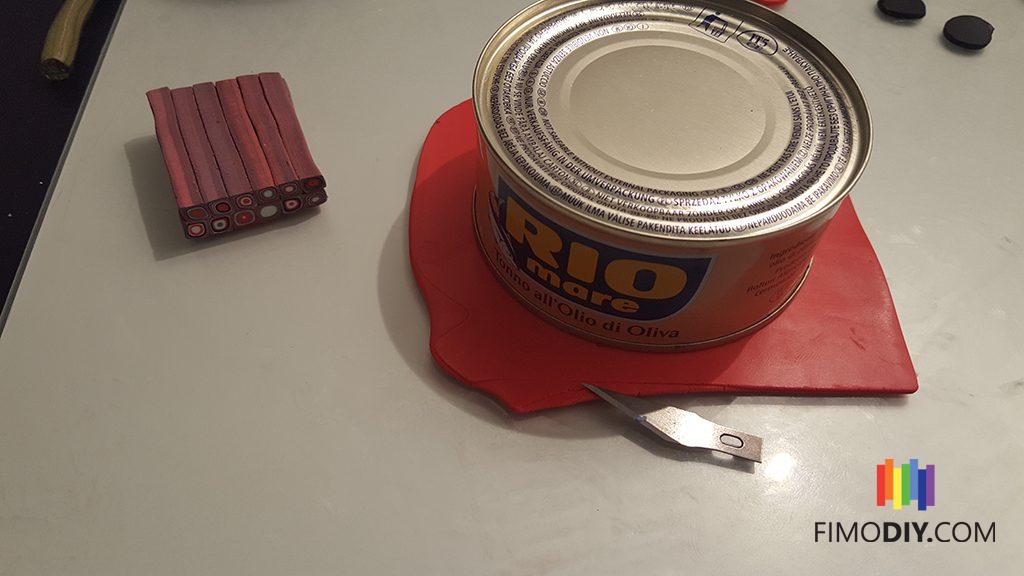
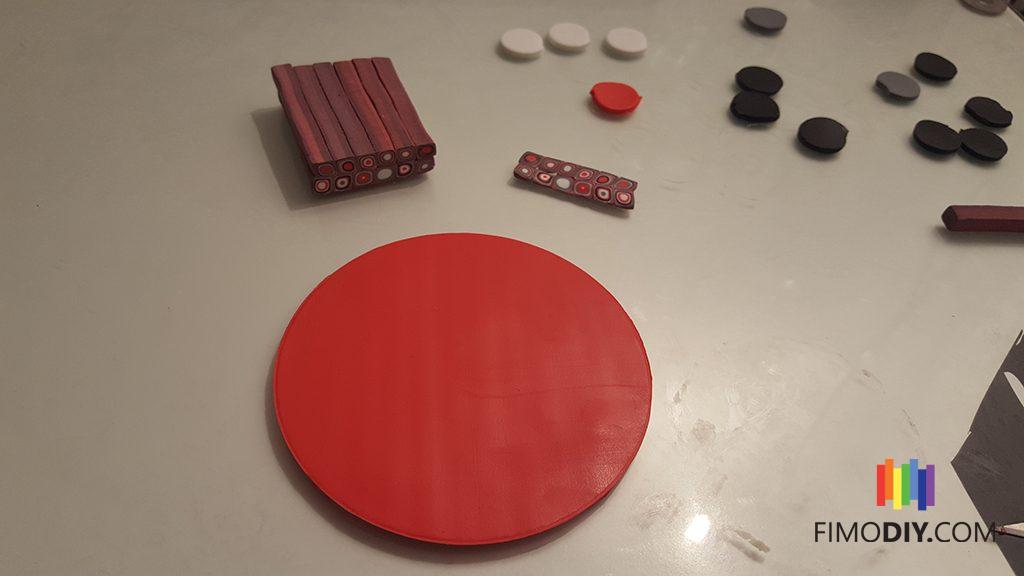
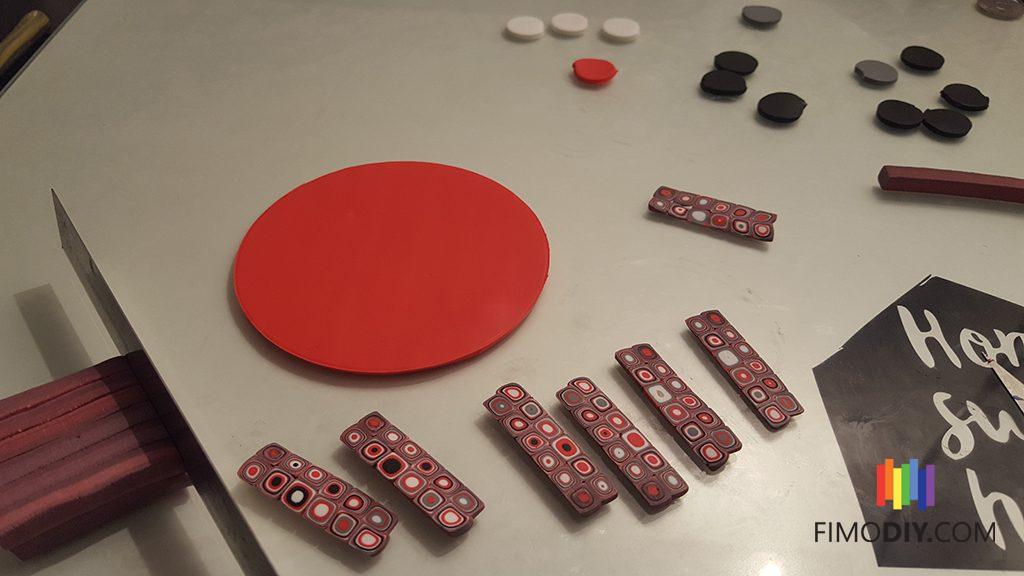
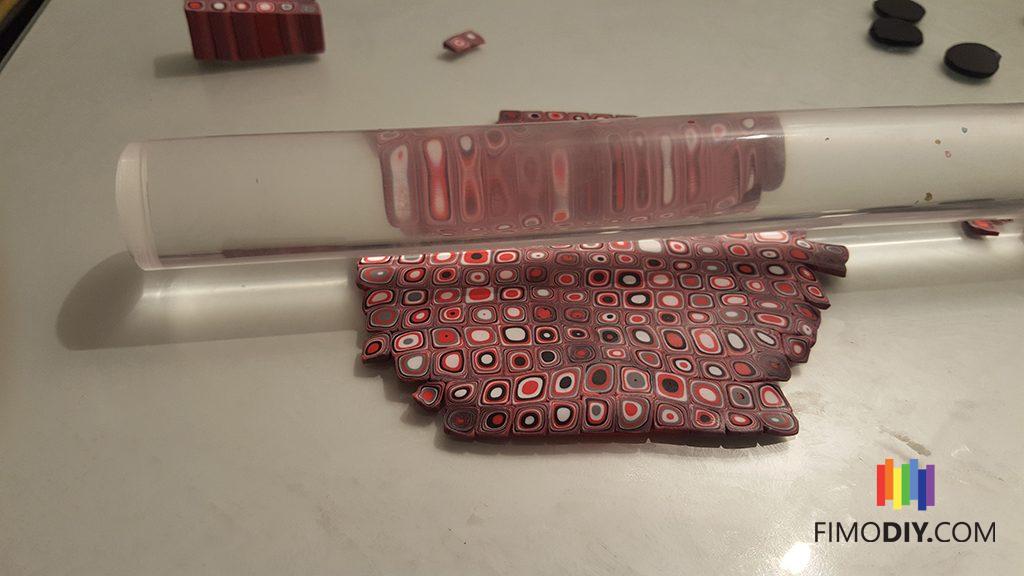
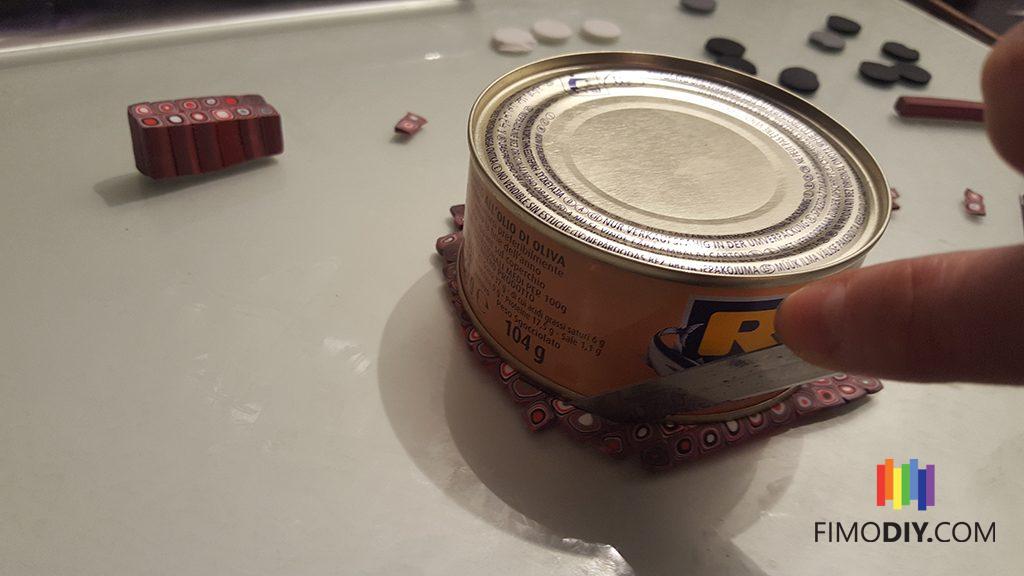
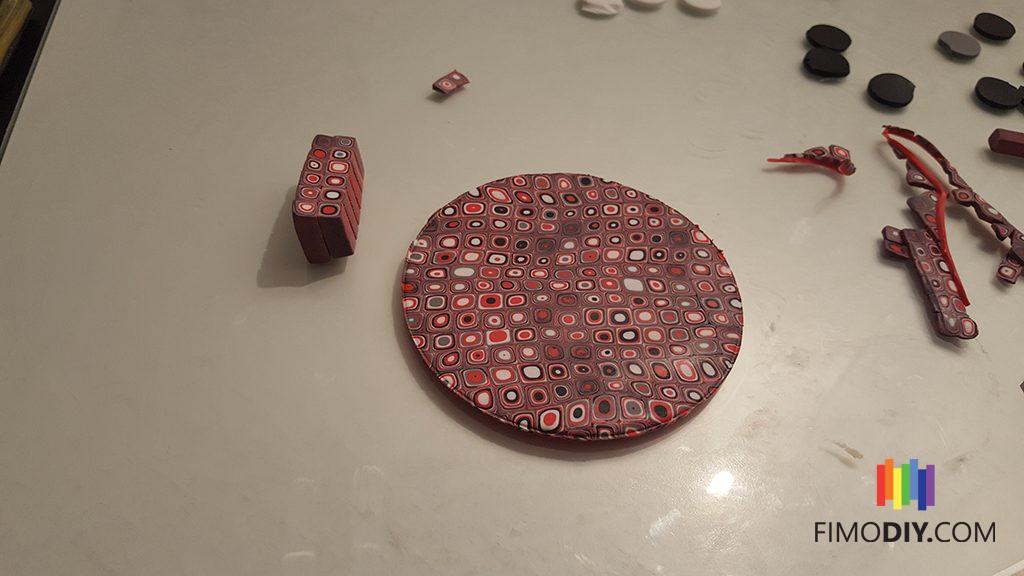
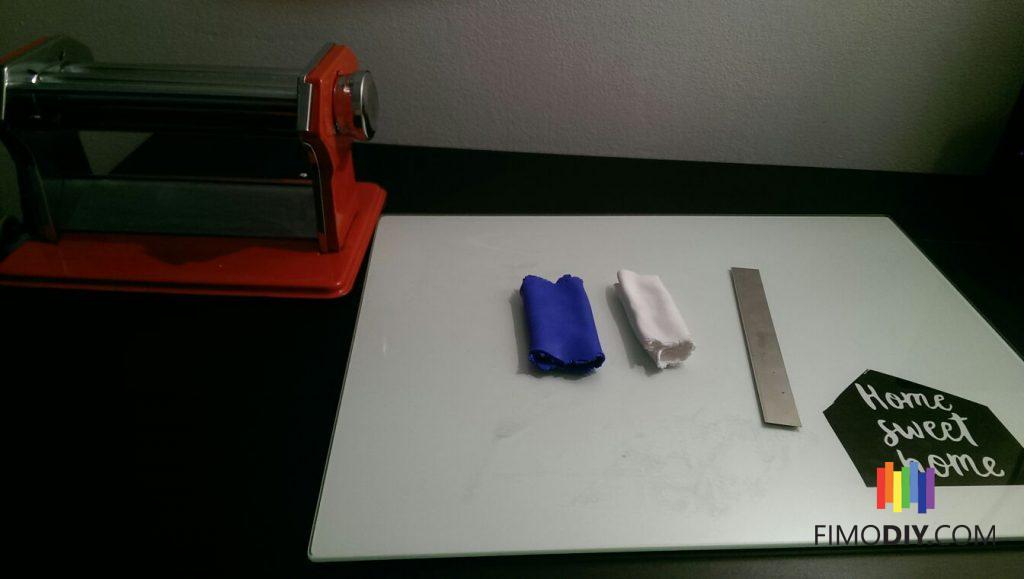
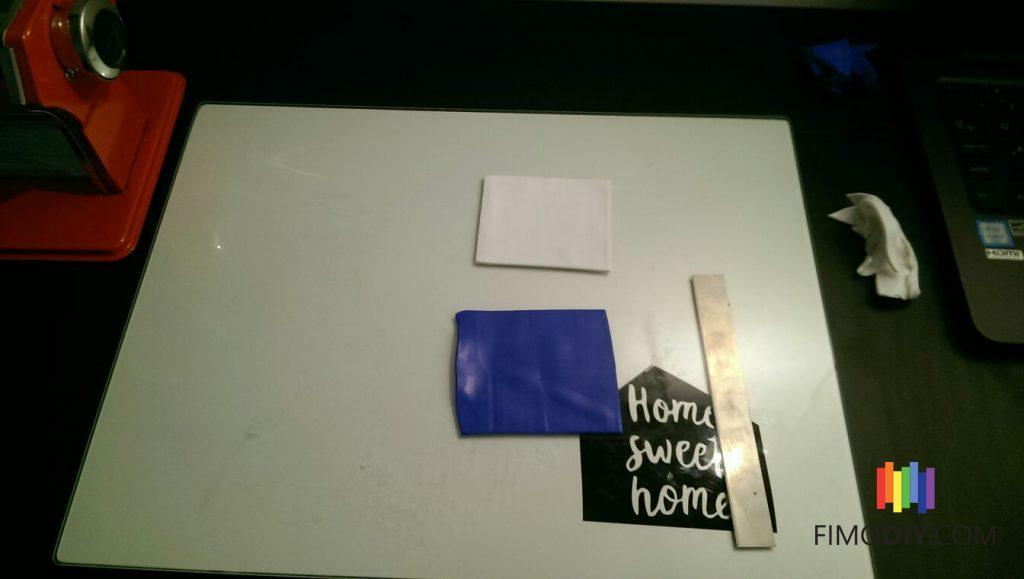
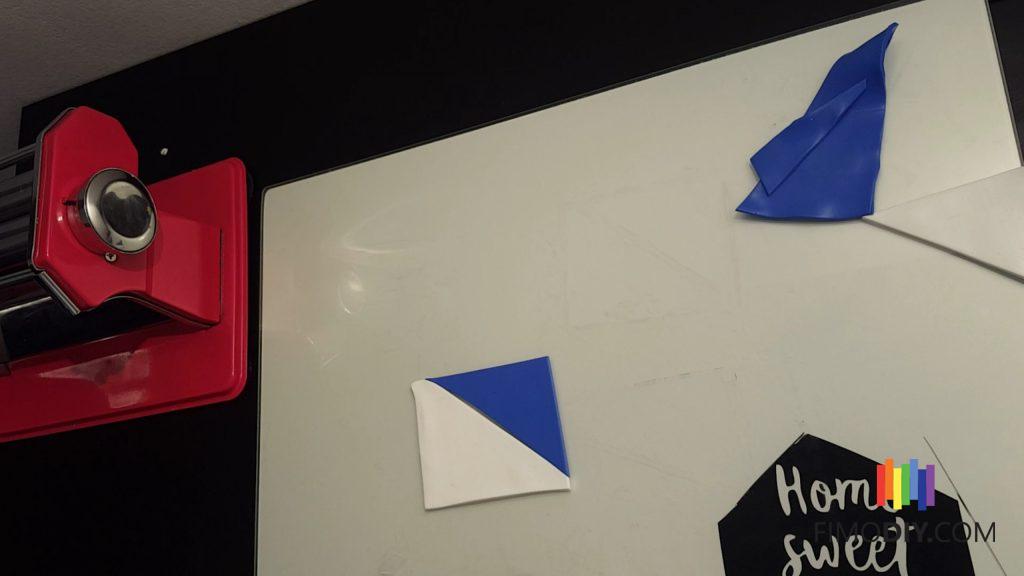
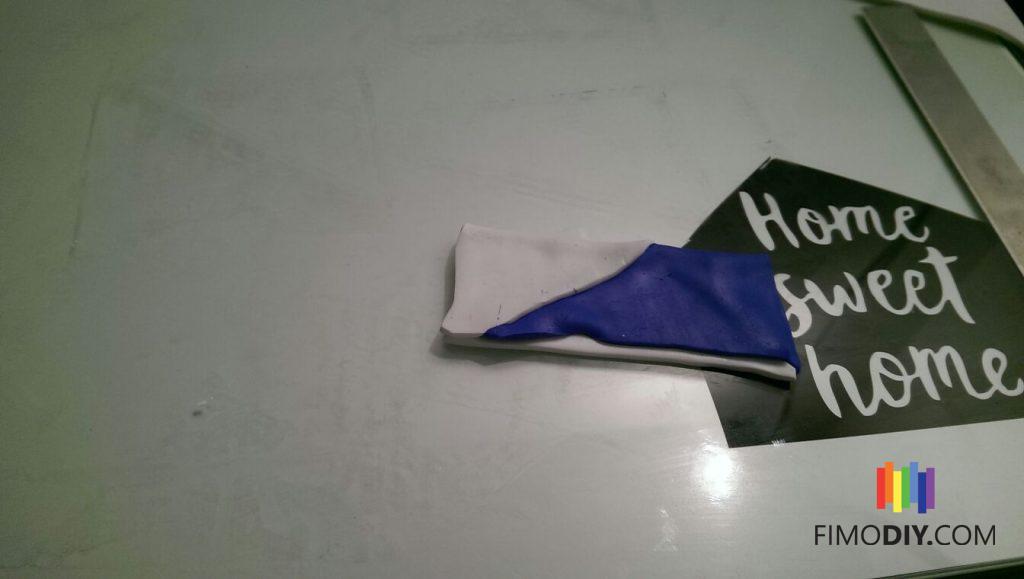
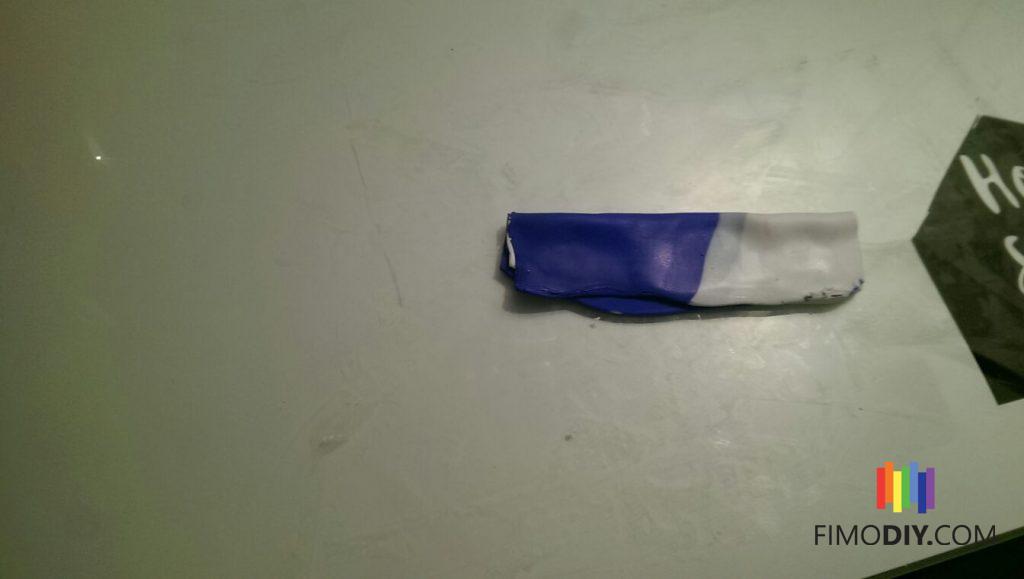
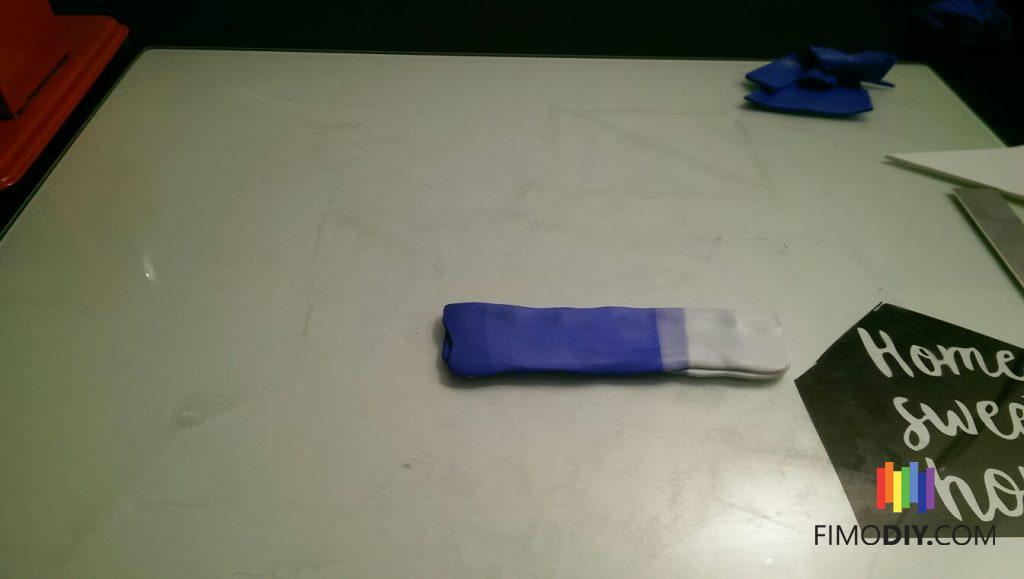
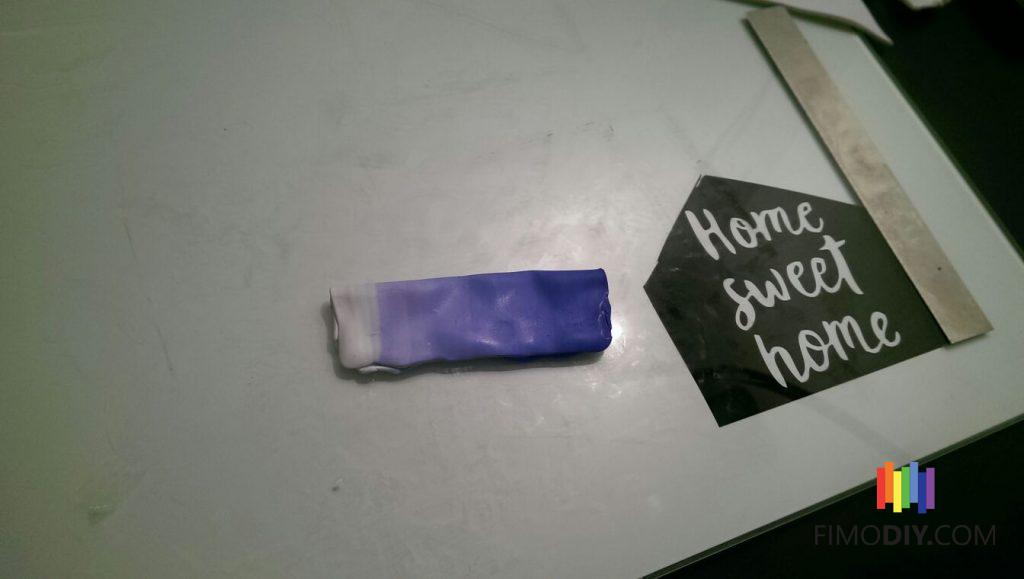
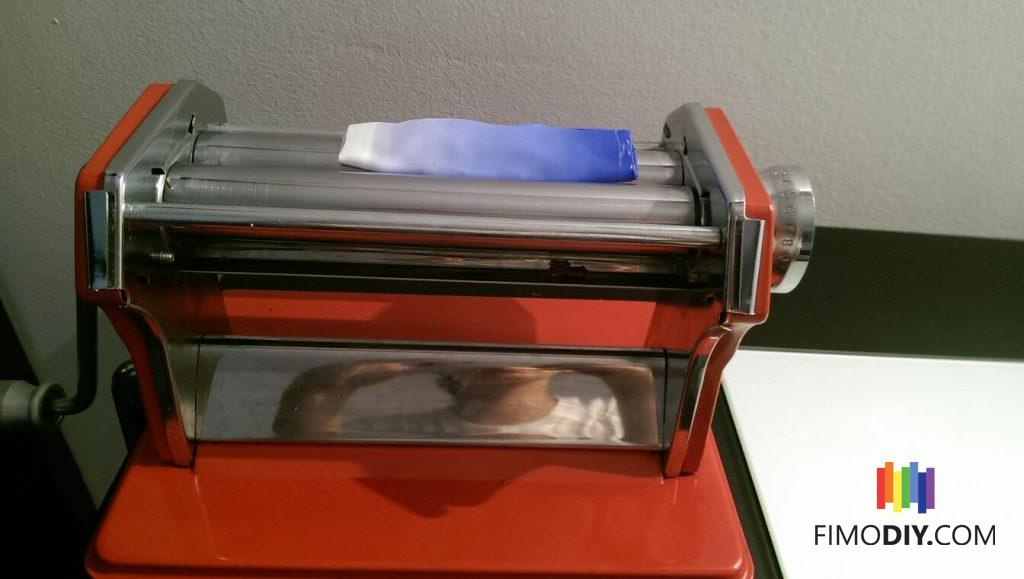
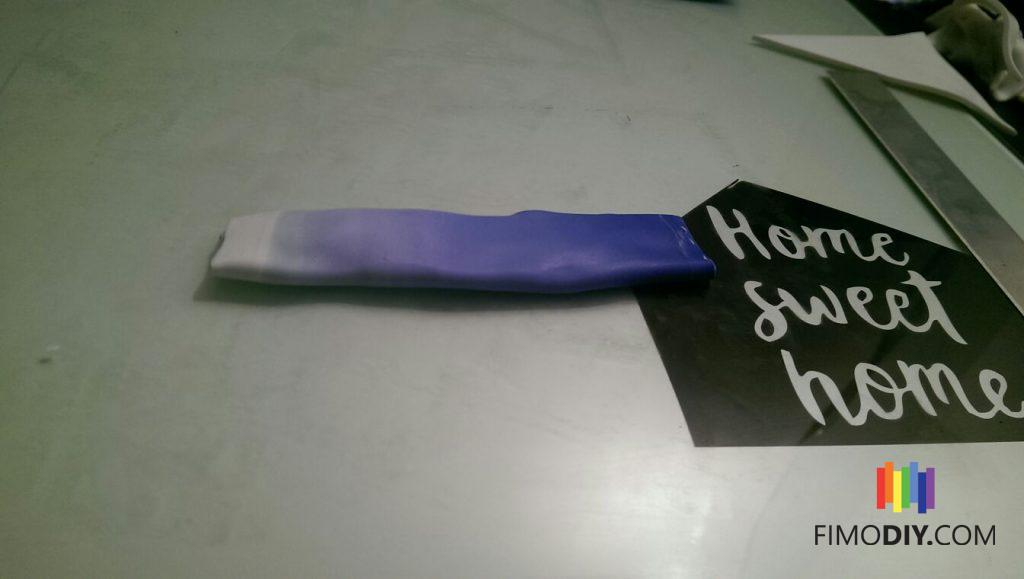
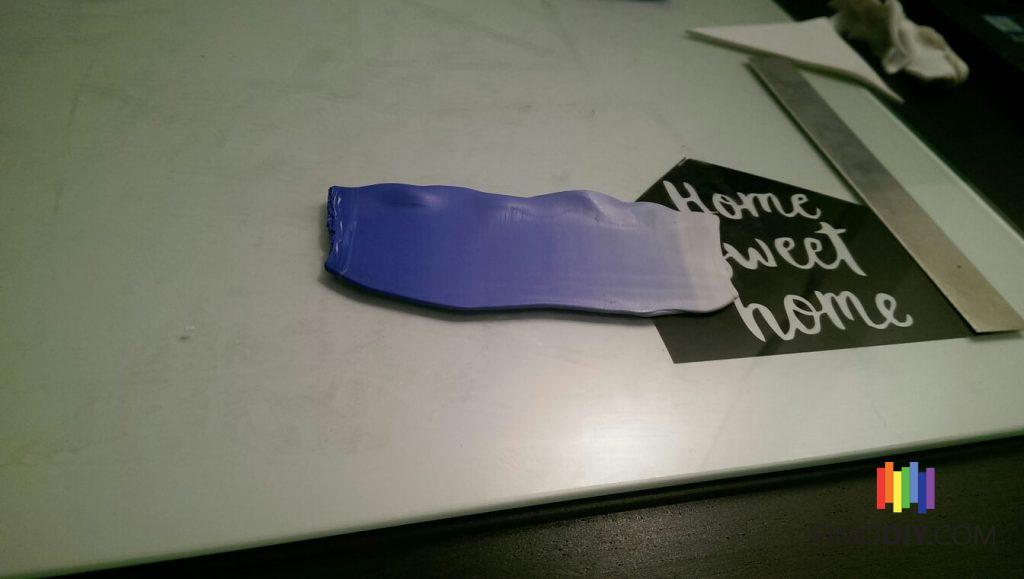
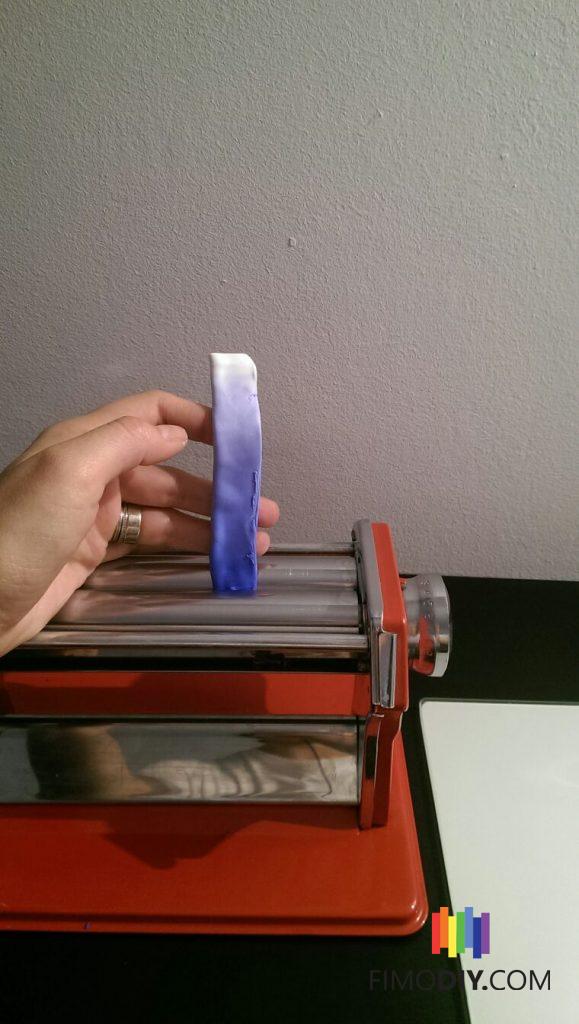
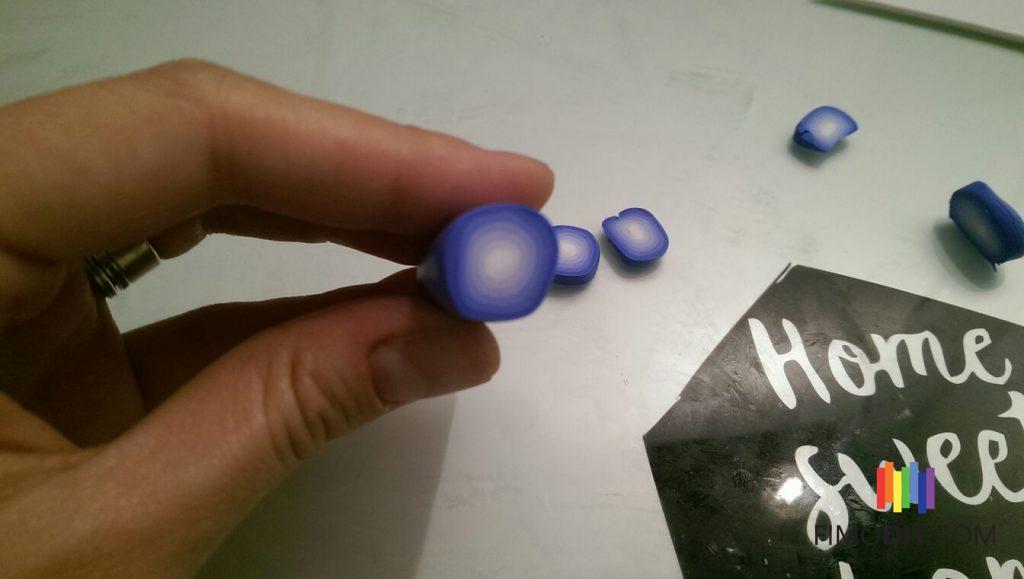
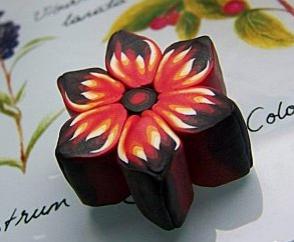
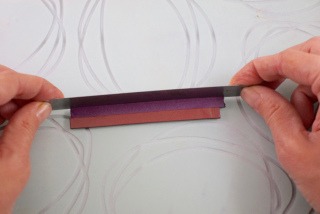
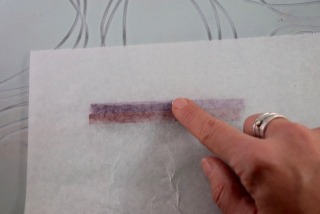
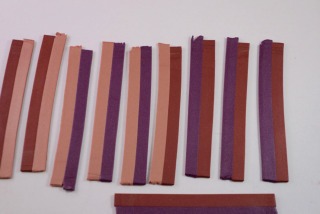
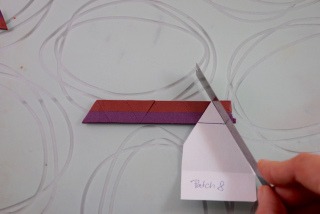
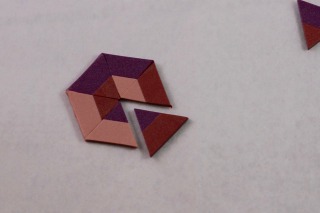
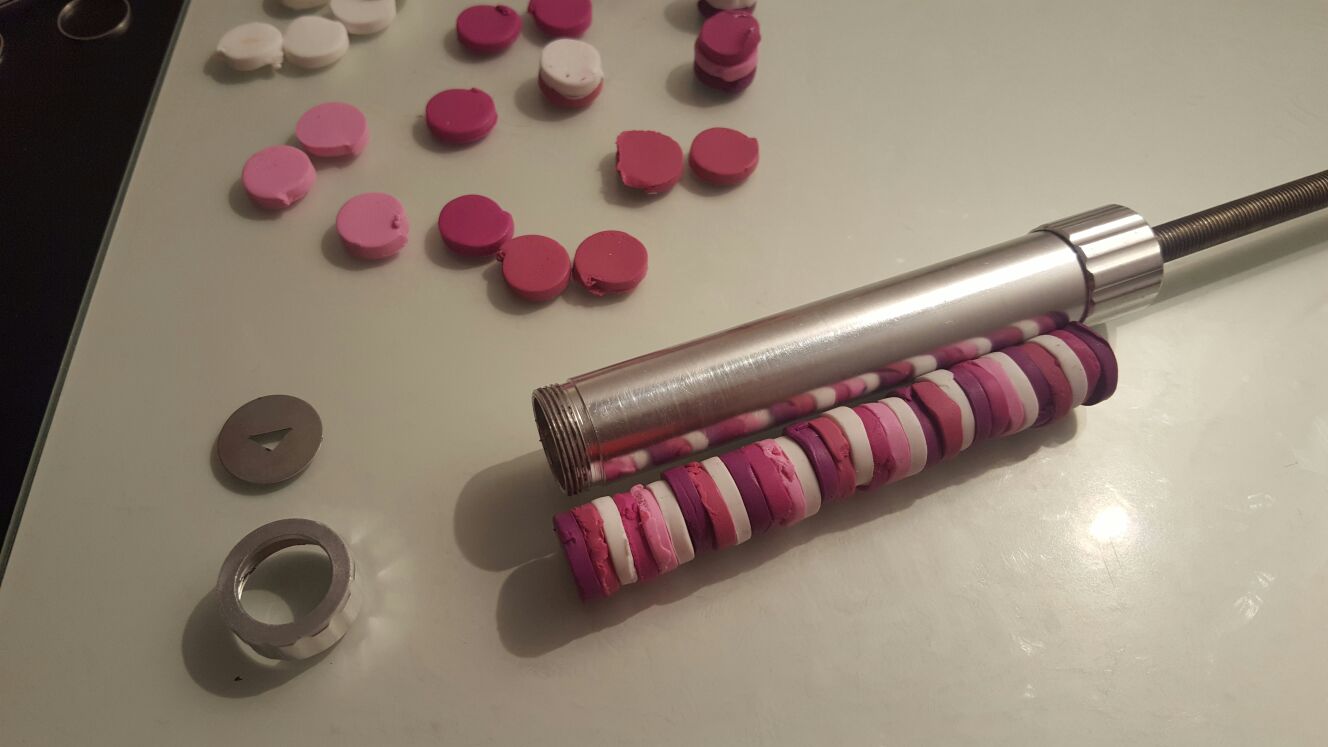
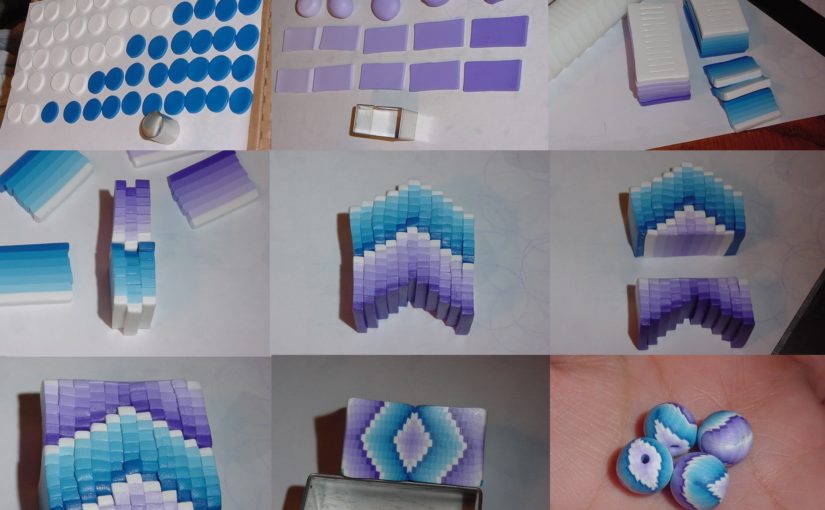
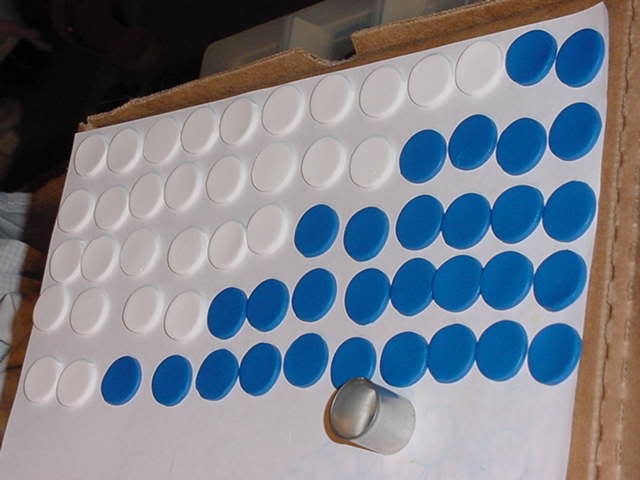
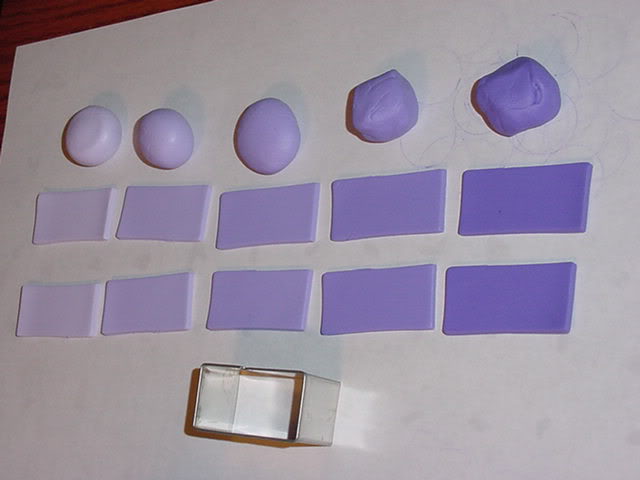
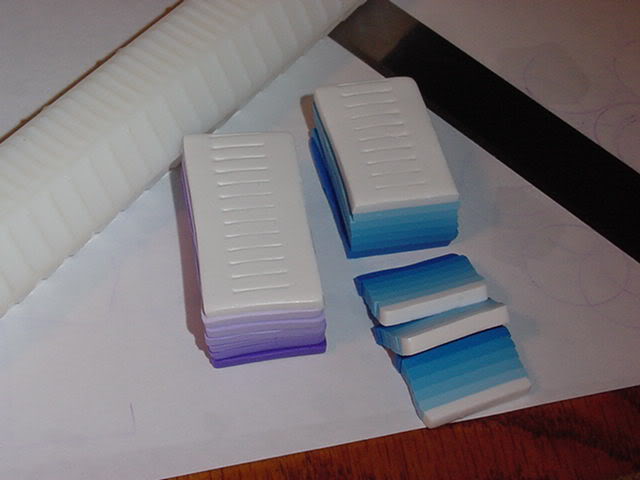
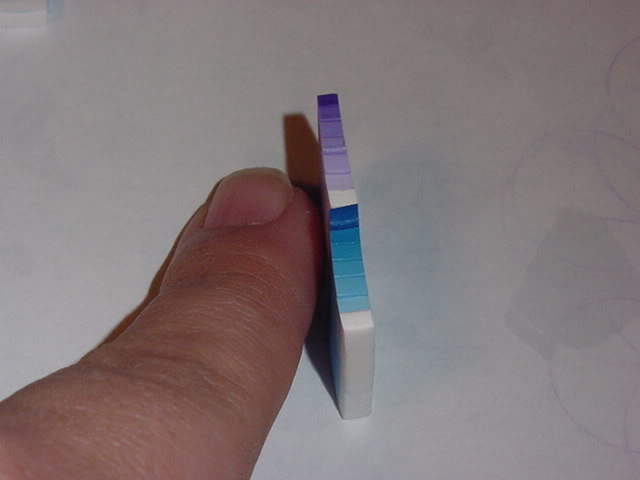
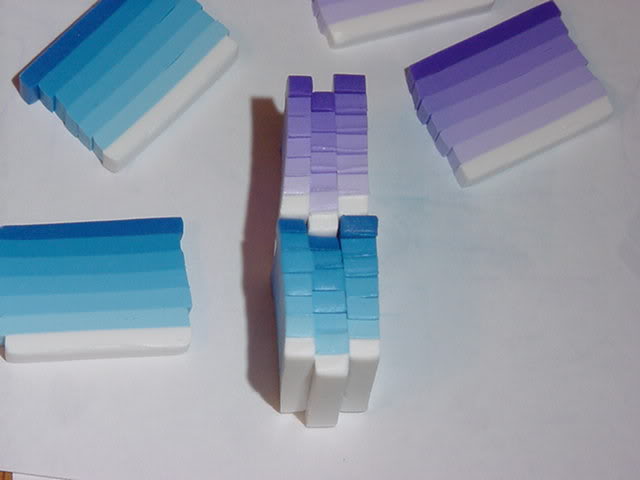
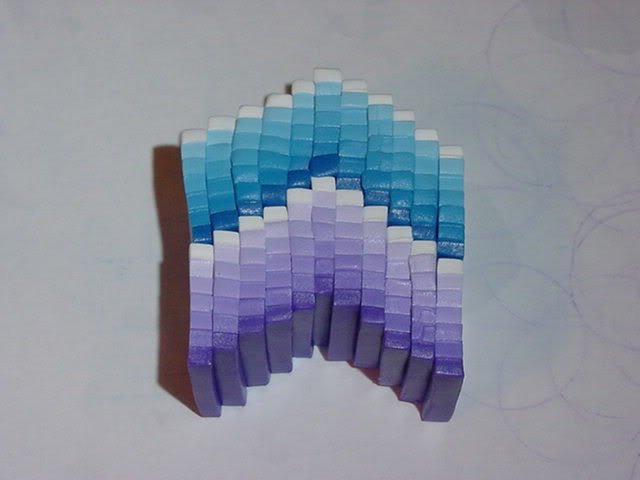
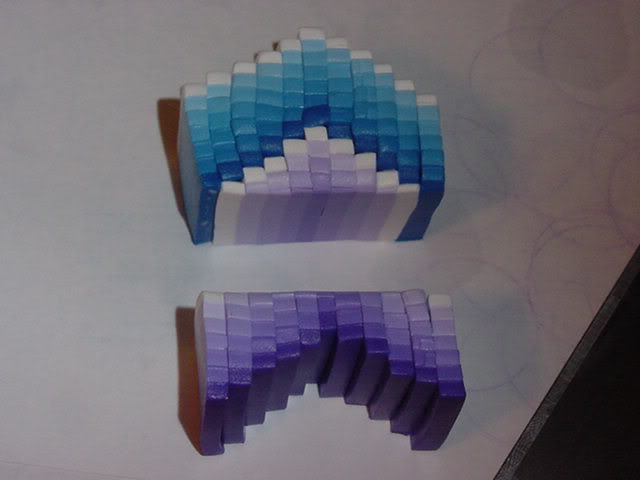
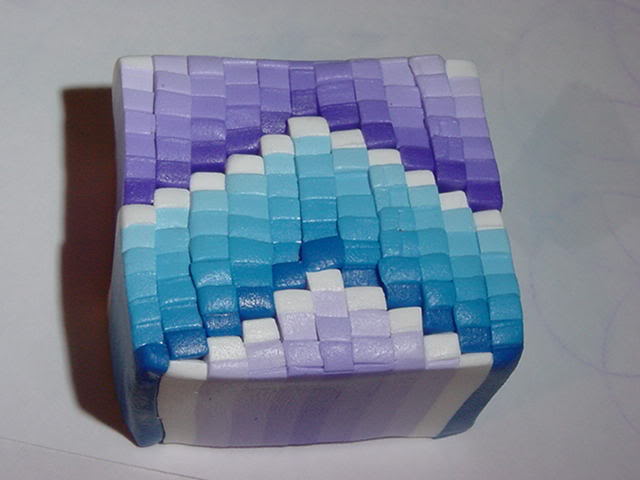
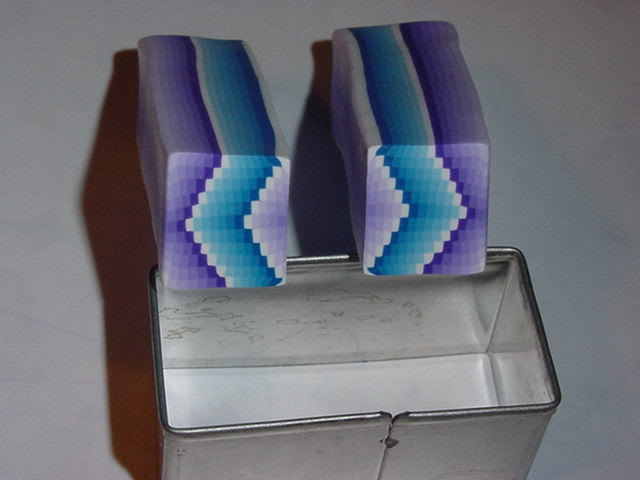
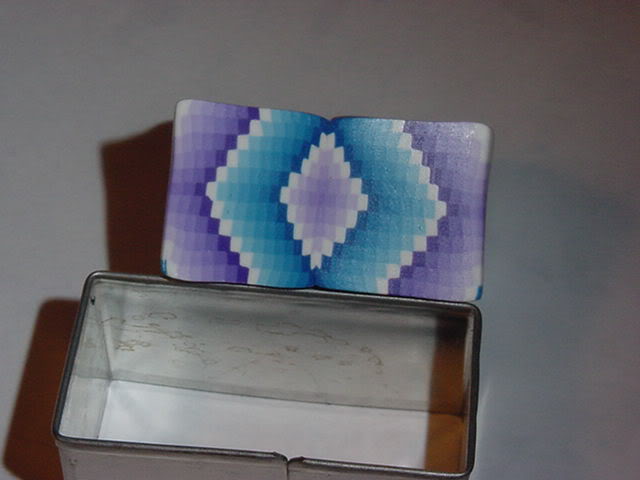
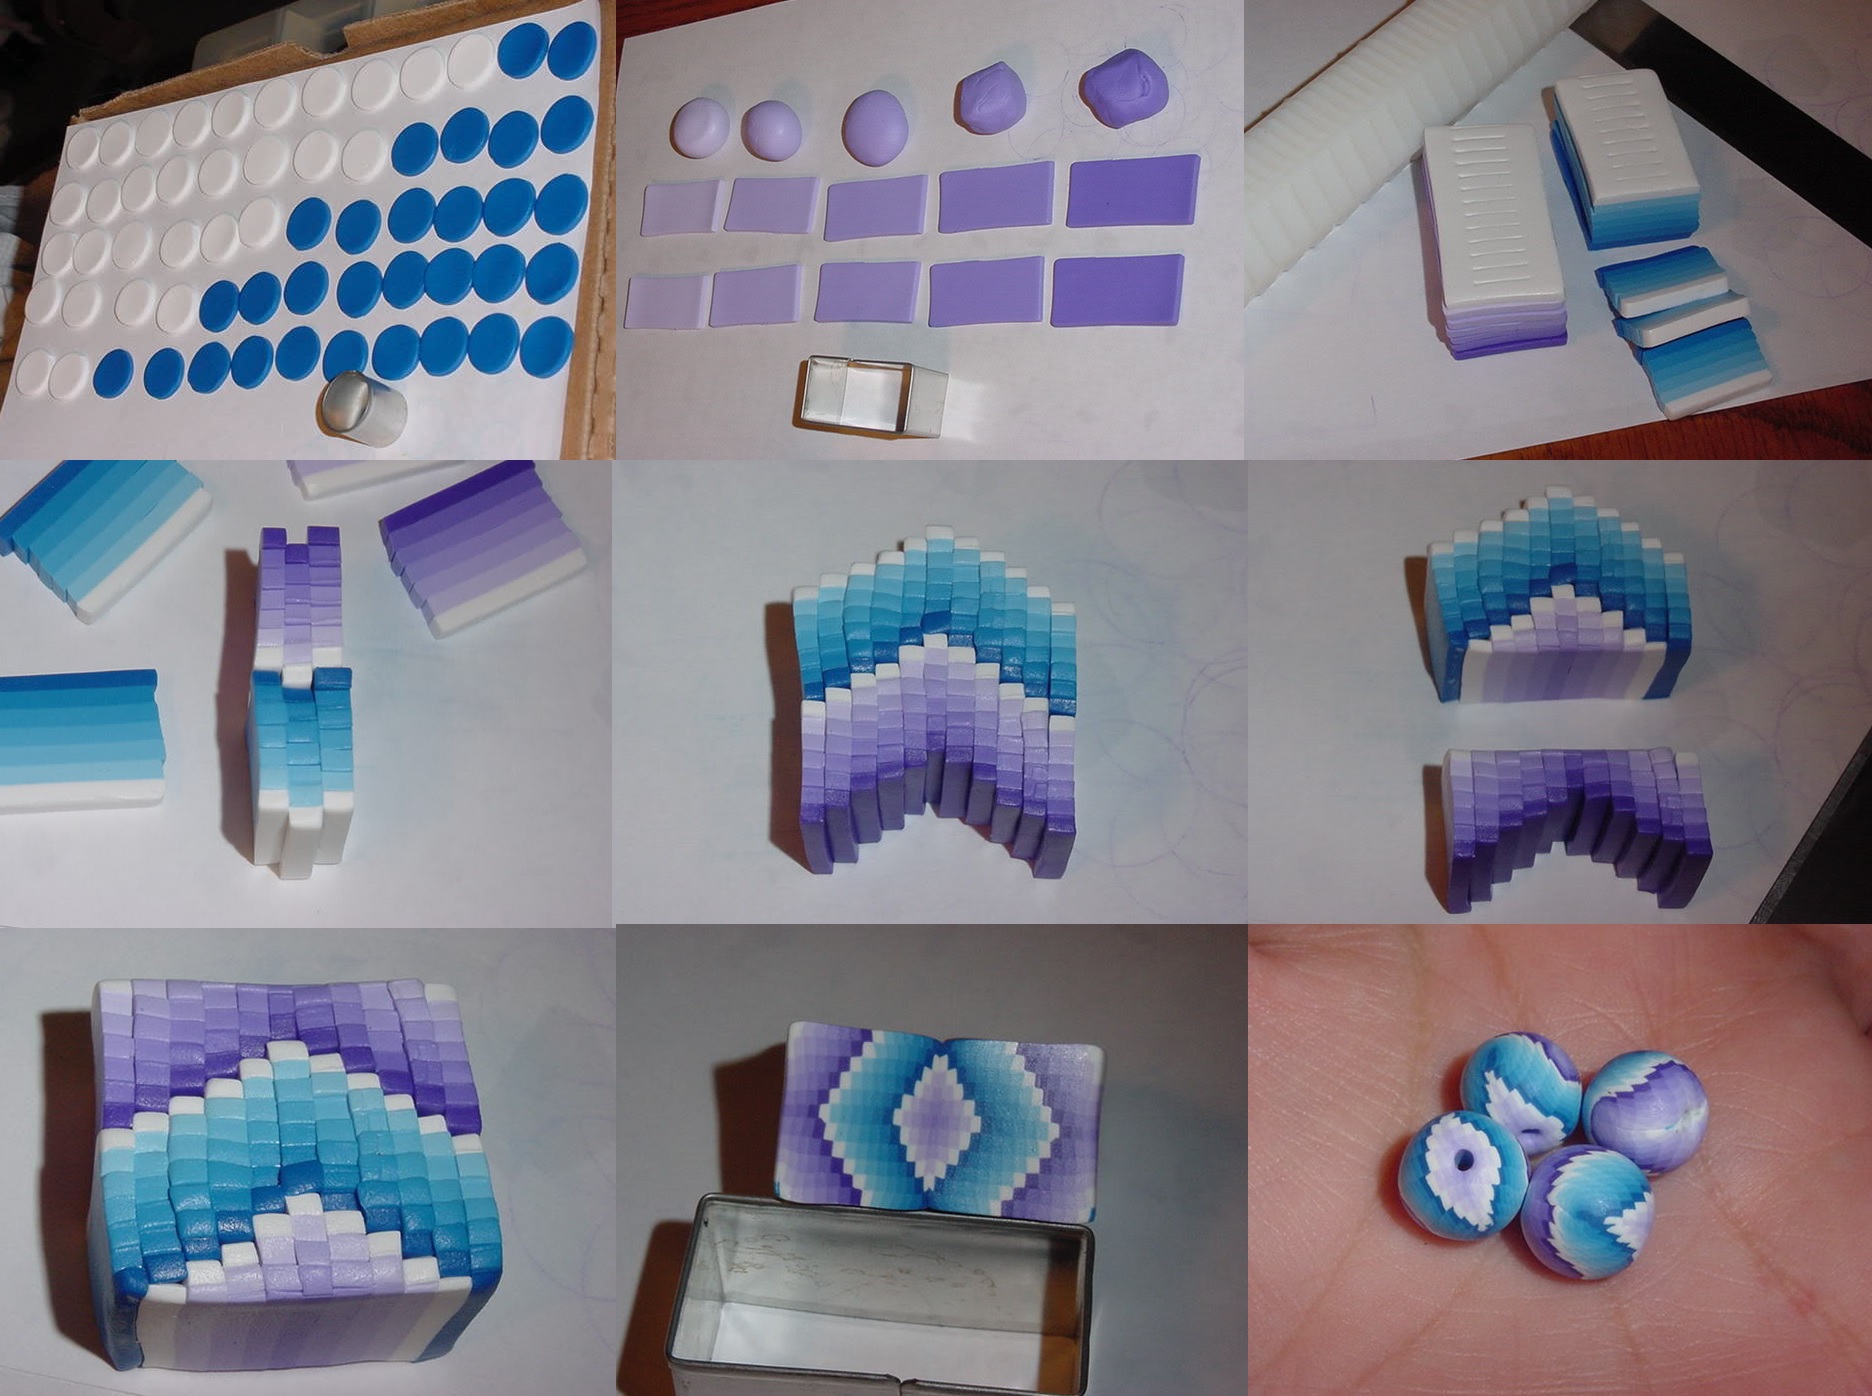
This mokume gane technique it’s the easiest way to create! If you decide to try it, you can find here a nice tutorial on mokume game gold leaf and translucent clay. I bet you will start with that one!
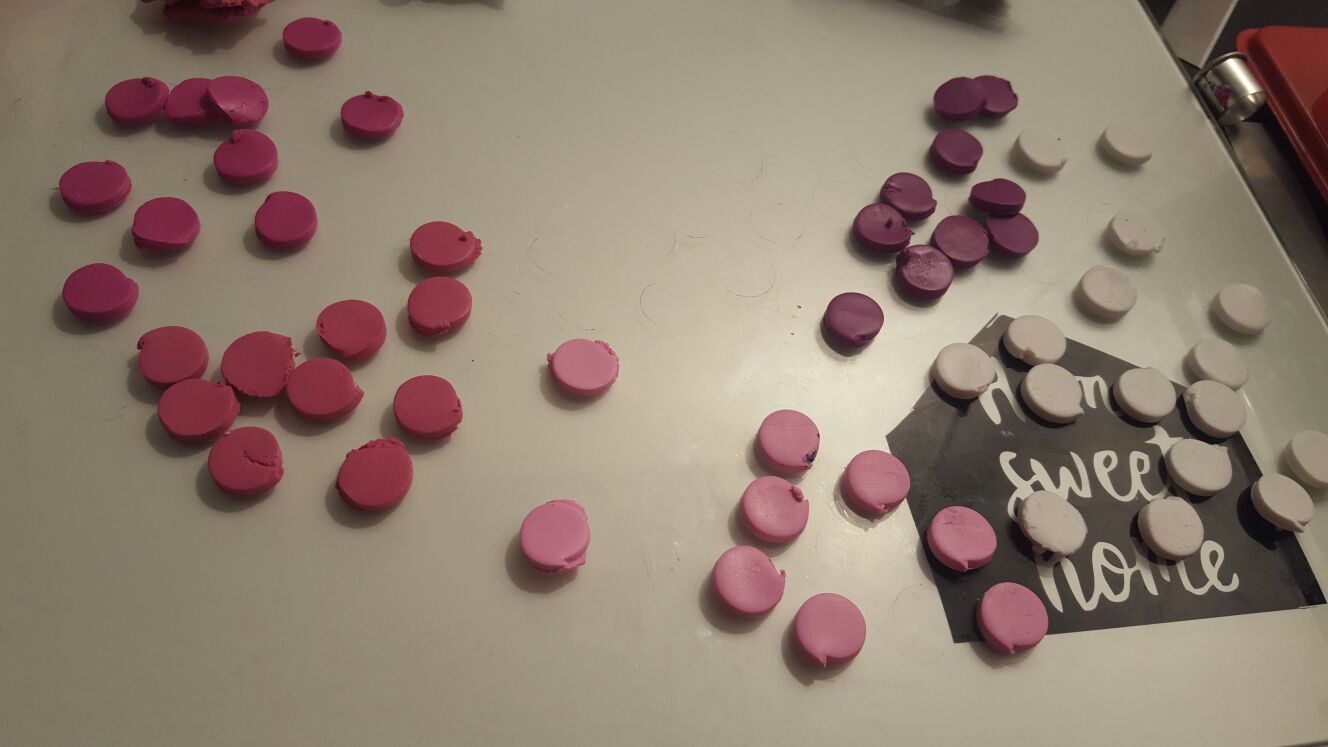
Creating your own jewelry it is fun and cheap. Doing so, you will always have an advantage that at any party you’ll go, you’ll never find someone with the same jewelry as you, handmade is unique! Last but not least, you can combine any colors to match your mood!
is deciding bang on trend and you can easily make your own to match your outfit or mood.
The next polymer clay mokume gane necklaces are from an artist that I follow for some time! You you want to admire her work, here is a link to her page.


This polymer clay mokume gane necklace pendant by mindfulmatters is also for sale. Brows for more items in the shop, I’m sure you’ll find your perfect match!

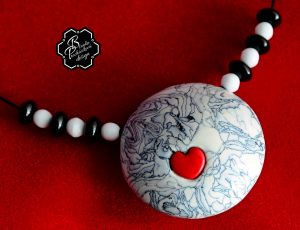
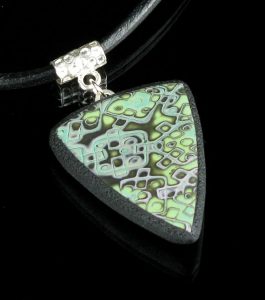
Look at this necklace! It’s gorgeous! Congrats to the artist!

I’m not sure if it is the the unique pattern or the color combination that make this necklace to dye for! I found it here.
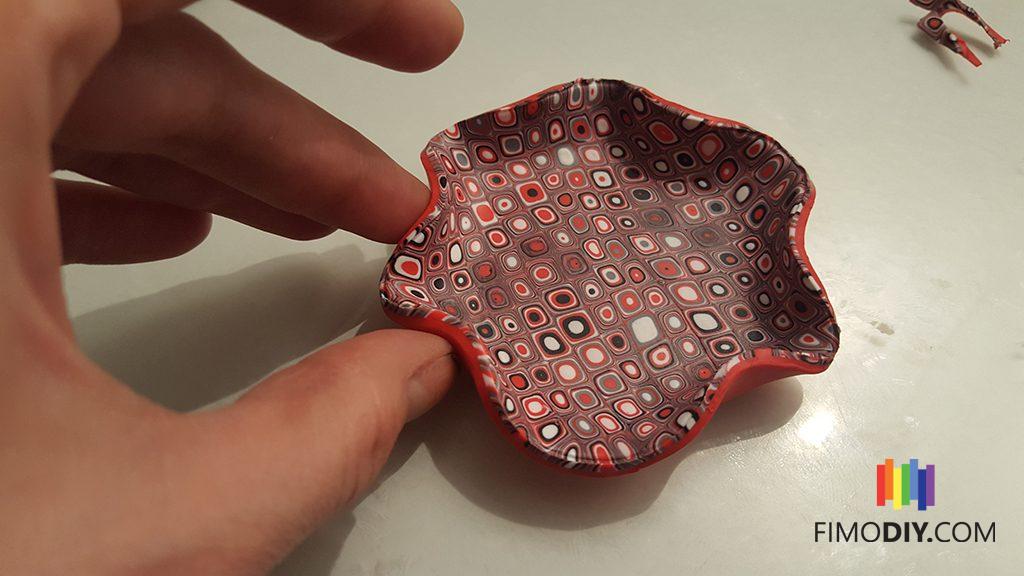
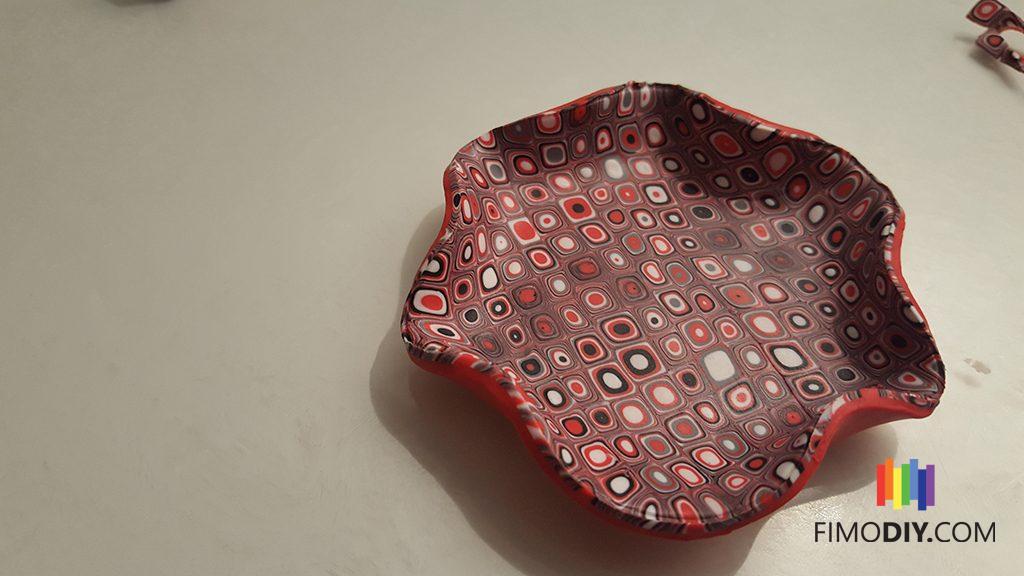
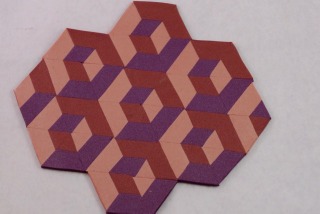
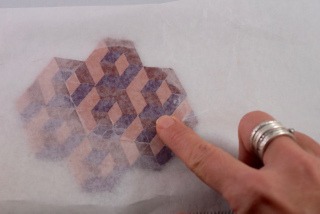
I never thought about combining the mosaic technique with the mokume gane, but fore sure I’ll try! The effect is amazing! You can also buy this one here.

This is definitively another unique way to combine colors. For more photos with the author’s creations, use this link.

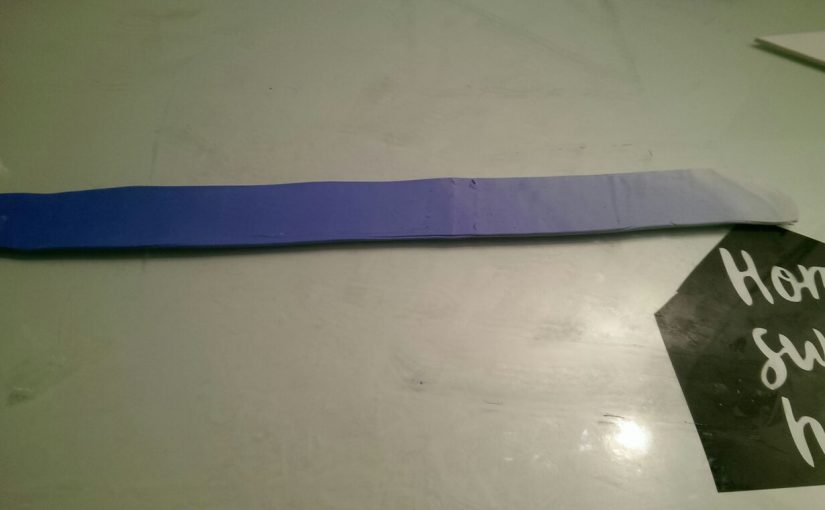
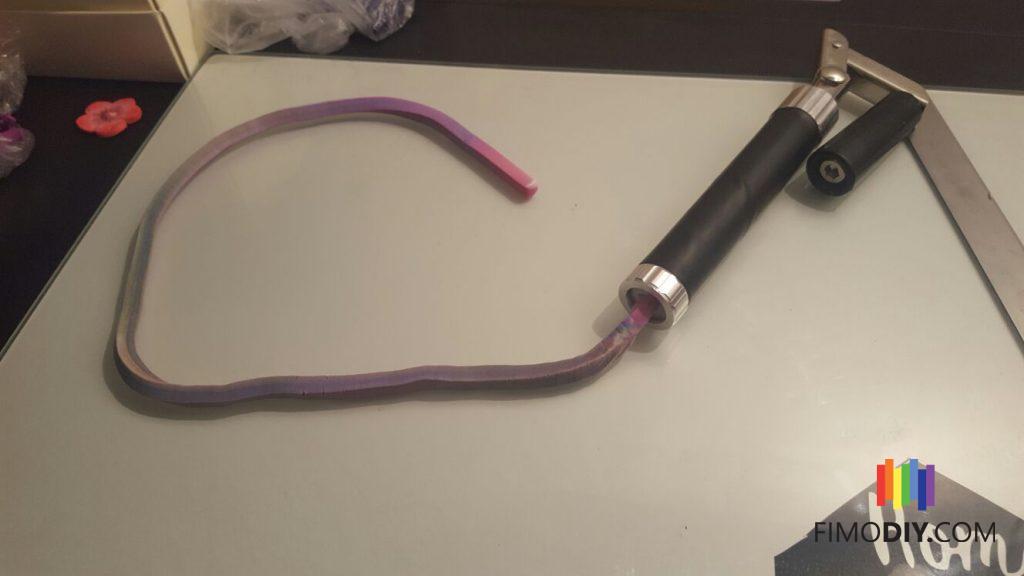
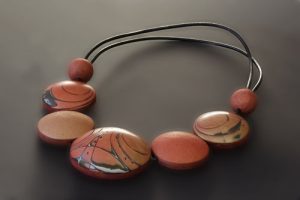
Love at the first site! This hidden magic just got a special place in my to do list! The artist combined the mokume gane technique with a gradient block.
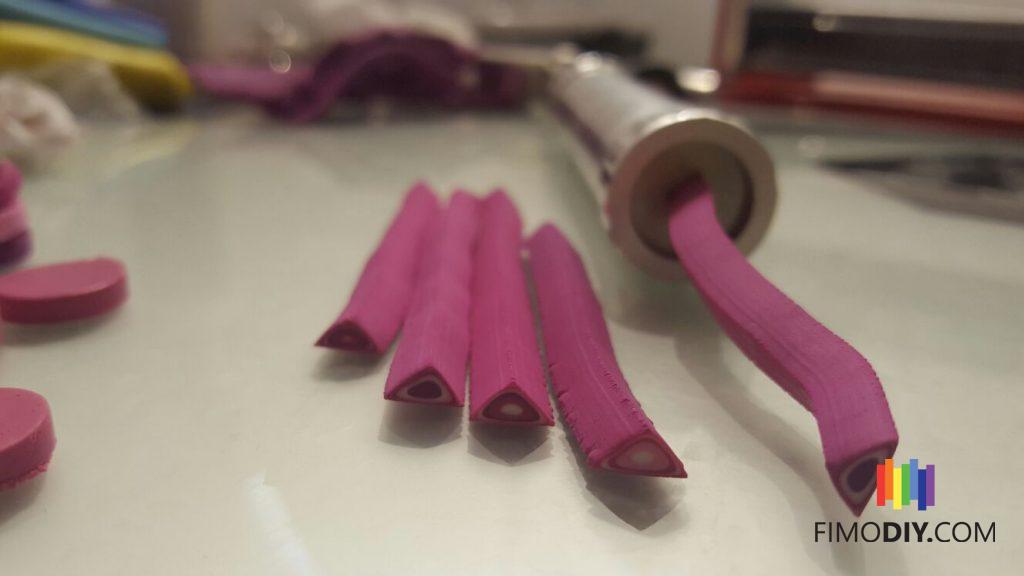
Hmmm, I’m not sure if it’s a mokume gane or an extruder, but I guess it can be both!
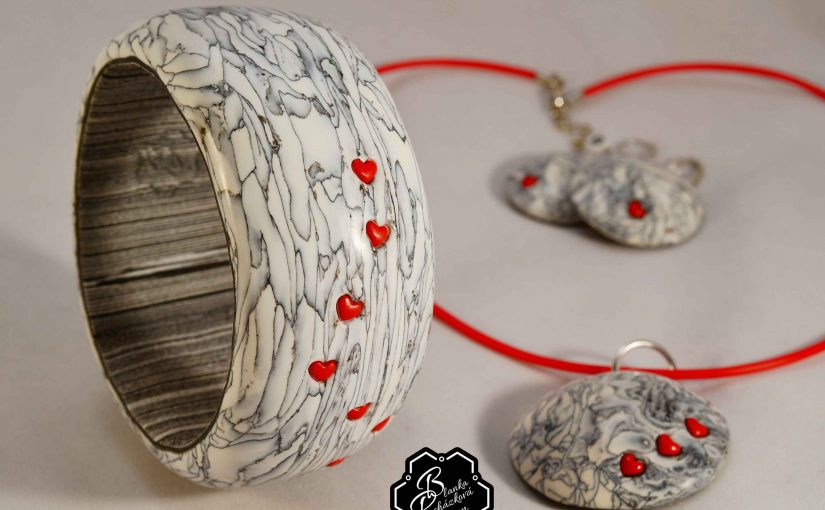
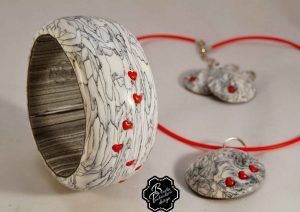
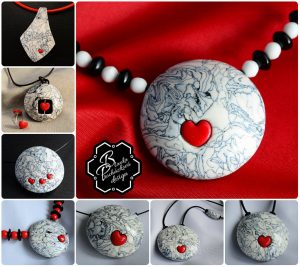
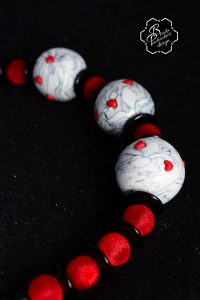
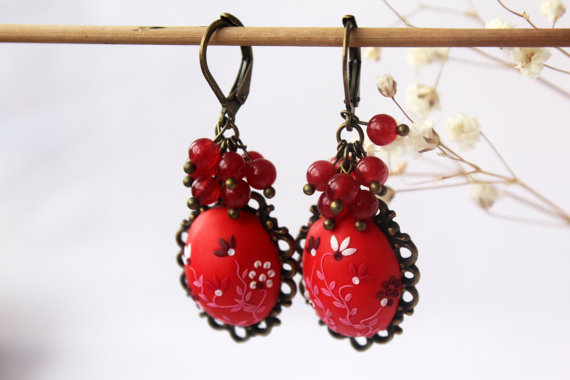
This polish artist Jagna Birecka creates stunning jewelry with polymer clay! The next four creations are hers:
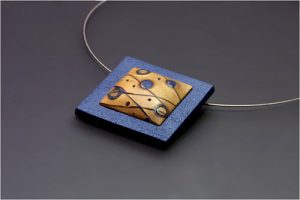
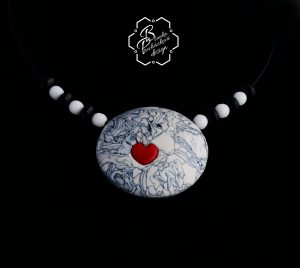
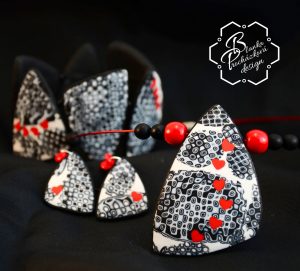
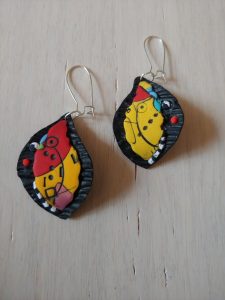
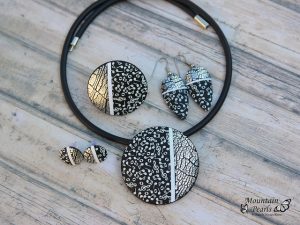
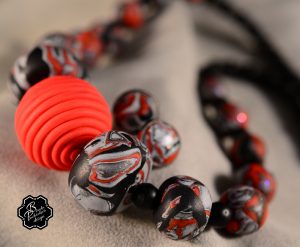
I’m a fan of black & white jewelry, and this artist deserve a medal for this nice polymer clay mokume gane necklace.

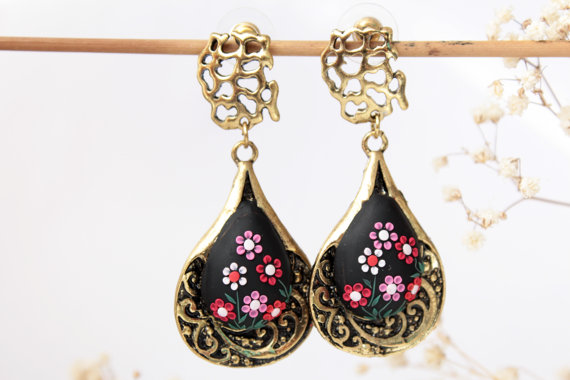
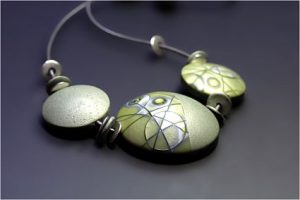
I also find a piece for the gold lovers 🙂

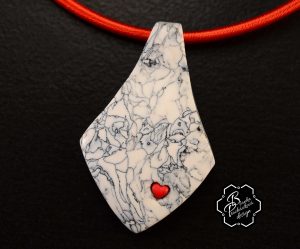
Wonderful piece! Here you can find more creations for the same author!

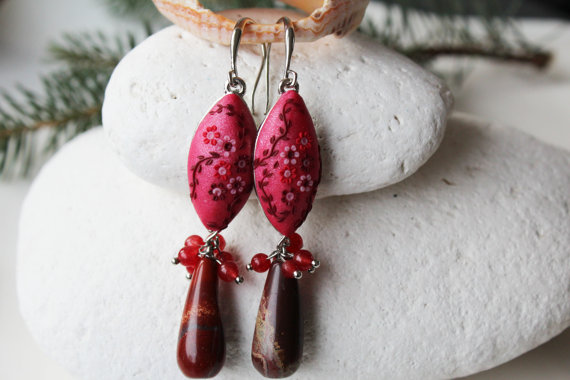
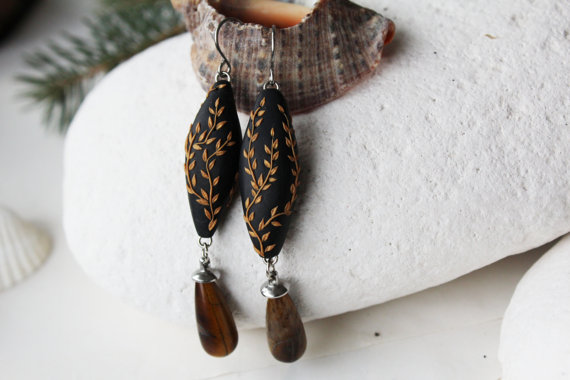
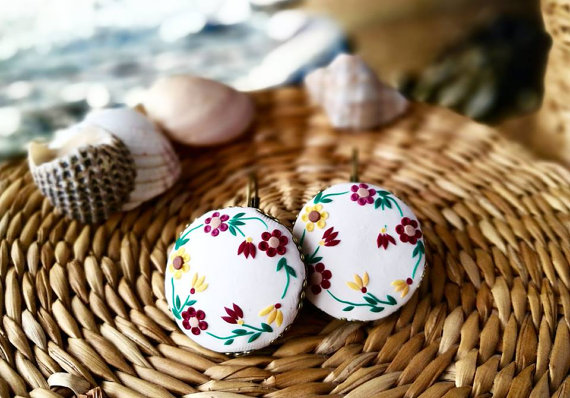
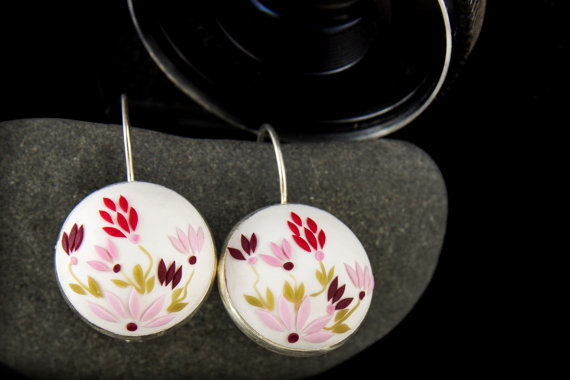
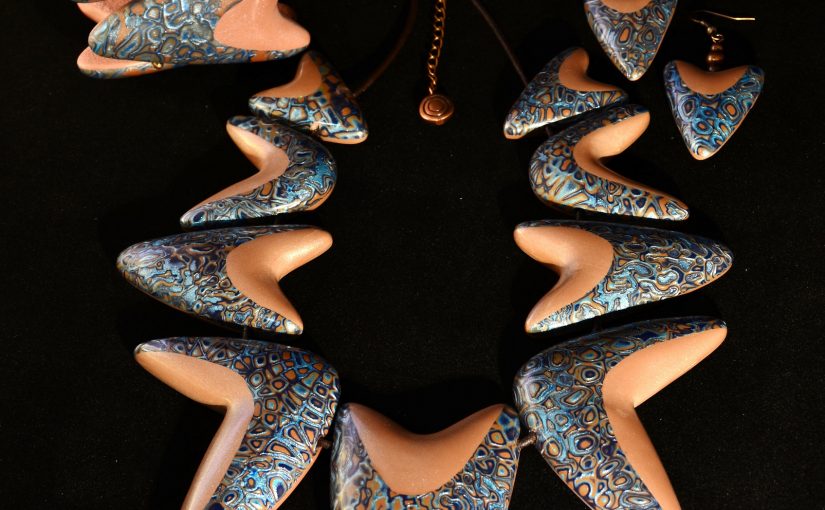
The next necklace it is perfect for a holiday on the seashore! I’m not sure if the artist artist found the inspiration there, but the result is a dream with open eyes!
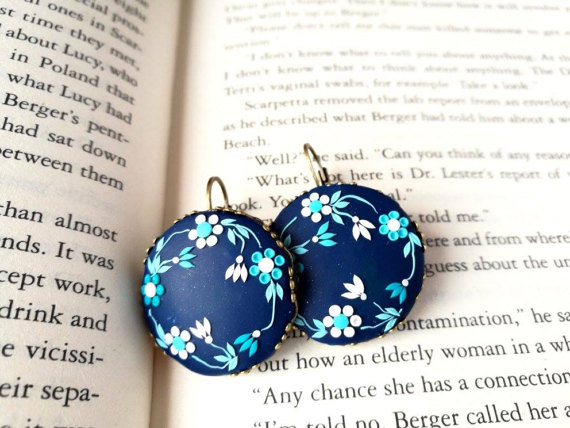
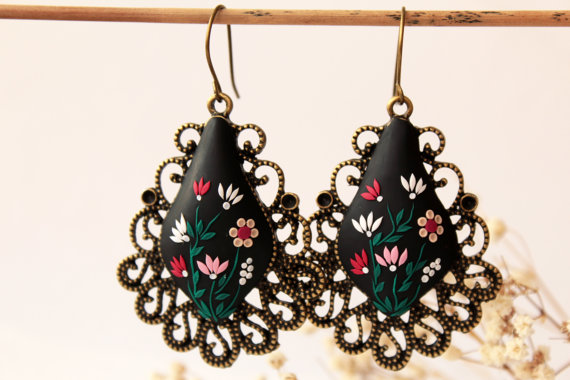
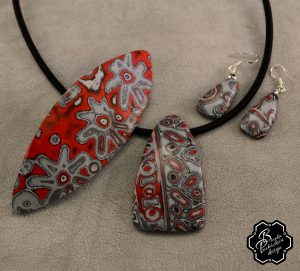
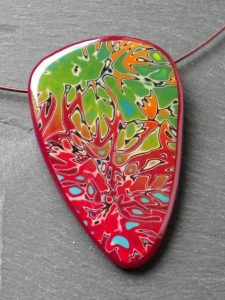
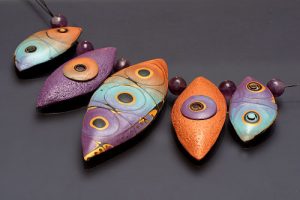
And the prize for the best fireworks go to the next polymer clay mokume gane necklace pendant. I also like a lot the duble pendant idea! You can buy it from here.

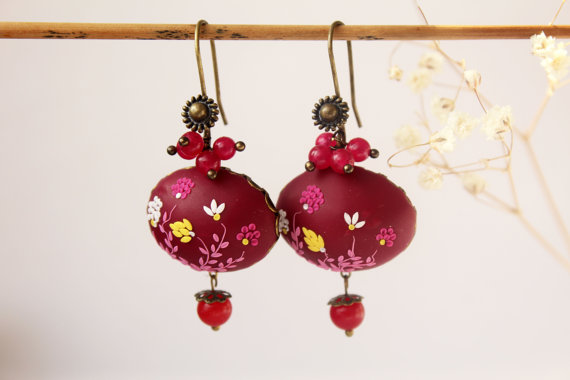
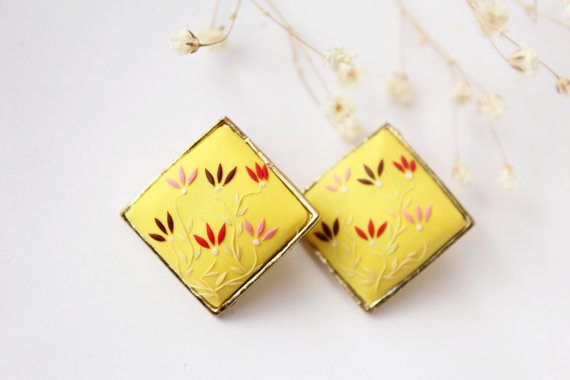
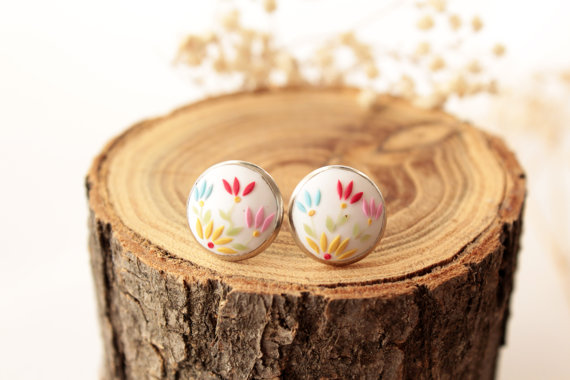
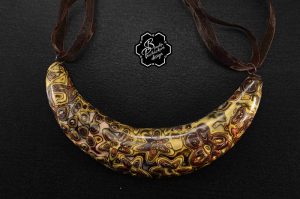
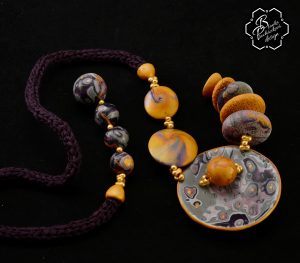
I’m also a fan of yellow and mauve combinations and this artist artist brought out of it everything that was best!
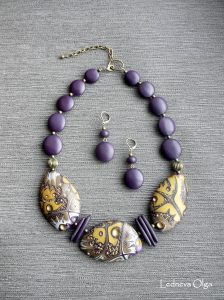
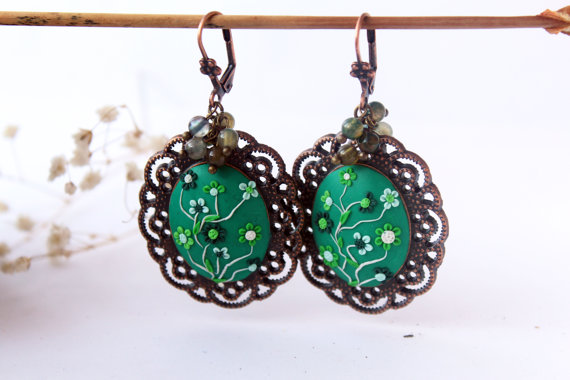
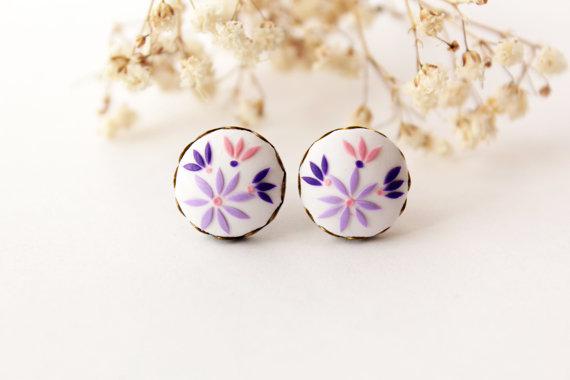
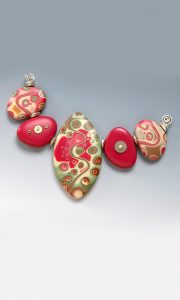
The next necklace pendant is perfect for spring! Unfortunately is sold, but mindfulmatters has a lot more pieces that worth purchasing.
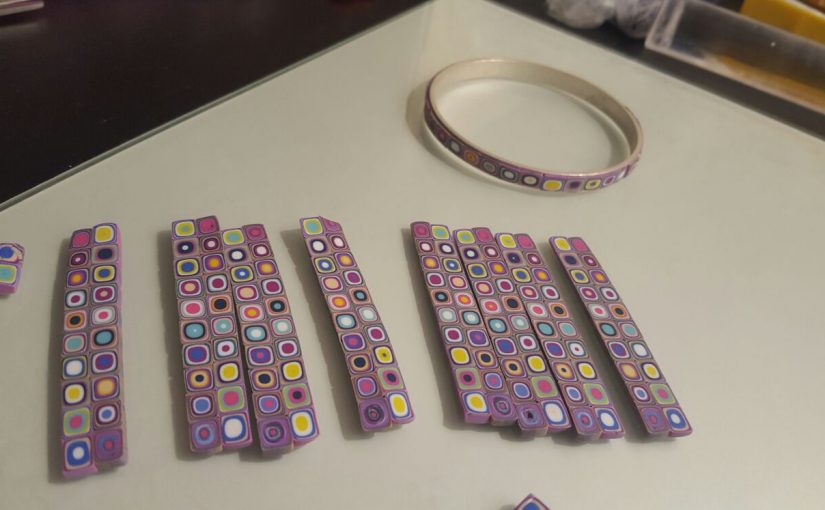
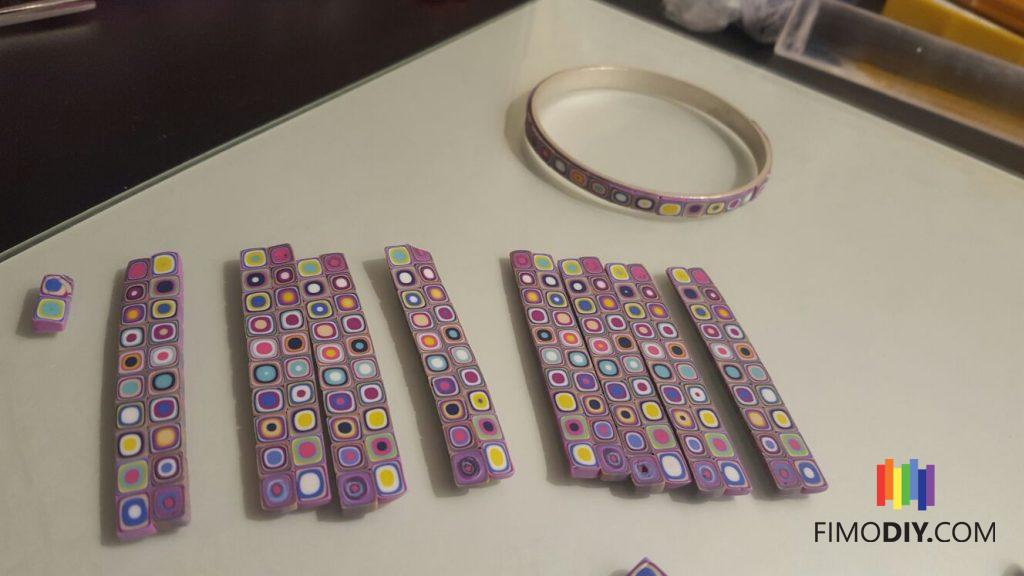
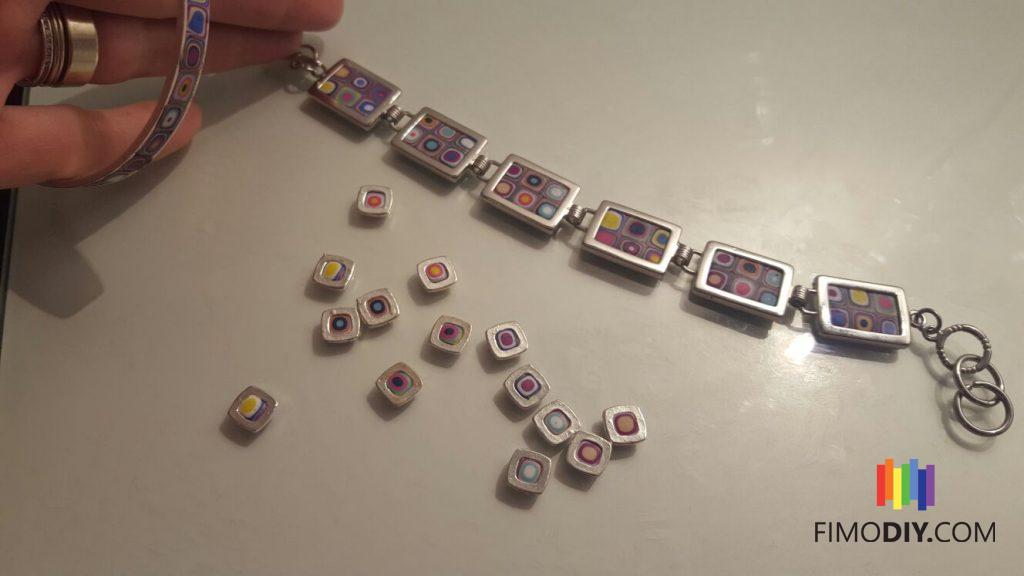
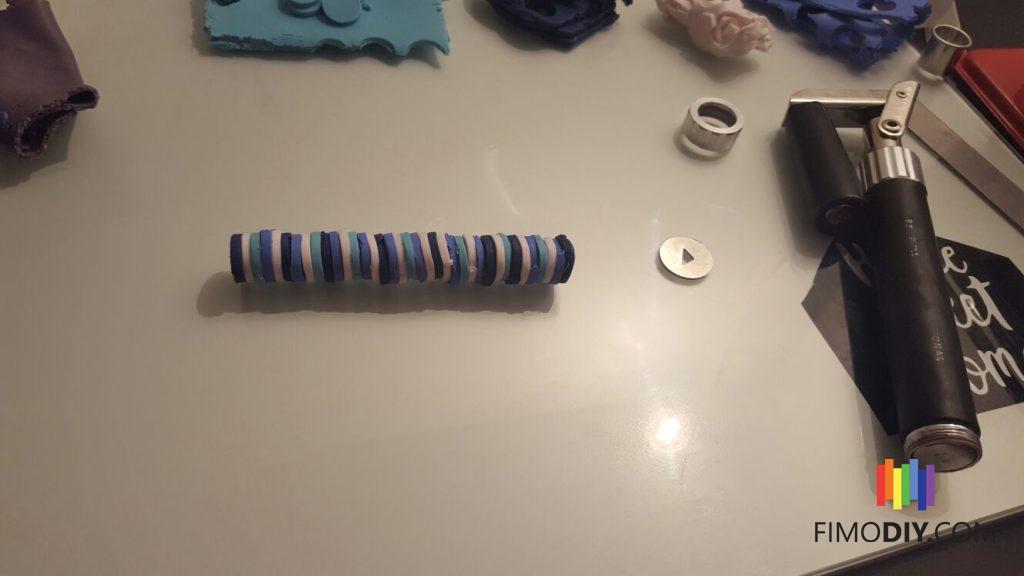
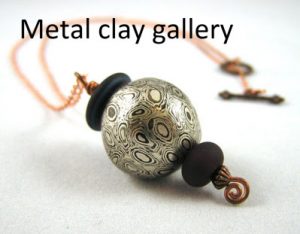
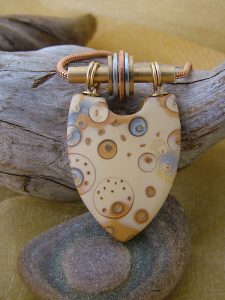
Polymer clay focal bead with brass tubing and copper, brass and silver washers to give movement to the piece. The artist is Julie Picarello.
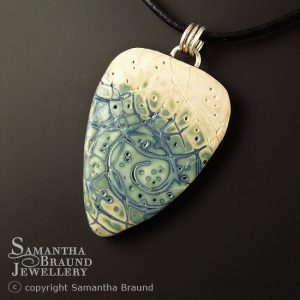
Mokume Gane Polymer Pendants by Samantha Braund.
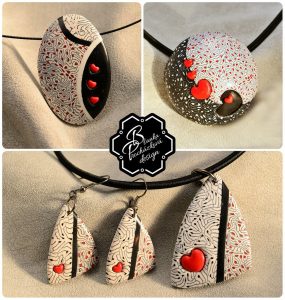
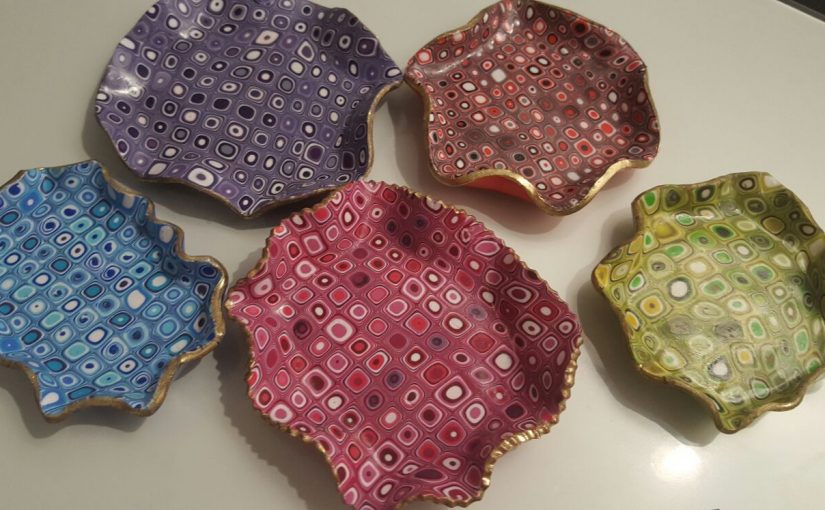
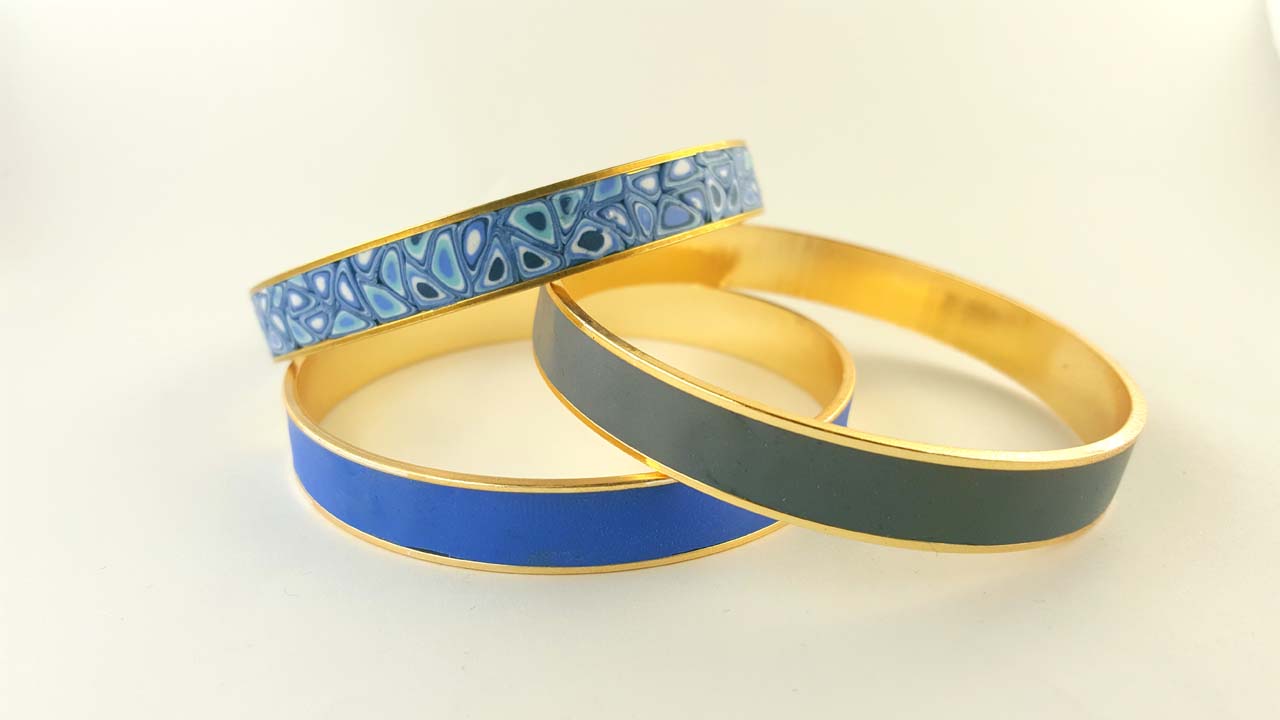
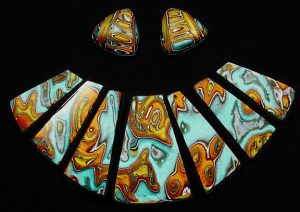
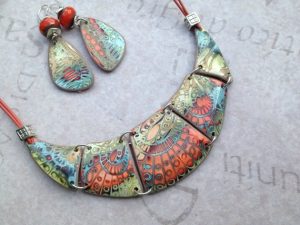
I end up this article with an amazing set. I found it here
I hope you enjoyed this selection of polymer clay Mokume Gane necklaces. I started it a long time ago, but just finished and I’m loving the result! I actually love the idea of list, so stay close I promise to do a lot more! Beyond the fact that some of the pieces are stunning, I find browsing for ideas relaxing!
Fell free to comment or ask anything and I will be happy to help you. If you want to share your work please contact me.
If you are interested in polymer clay tutorials, you can find a list over here.
Get captivating polymer clay new ideas and tutorials by following my Pinterest page .
######