Polymer clay pansies tutorial – DIY step by step
If you have a large collection of handmade jewelry, make sure to create some more using this polymer clay pansies tutorial.
For this polymer clay pansies tutorial you will need:
-four colors of polymer clay (blue, mauve, dark yellow, light yellow)
– cutter
– roller ping or pasta machine
Process
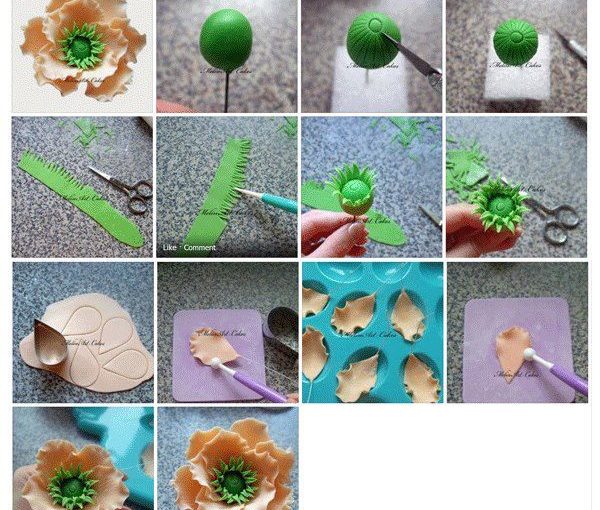
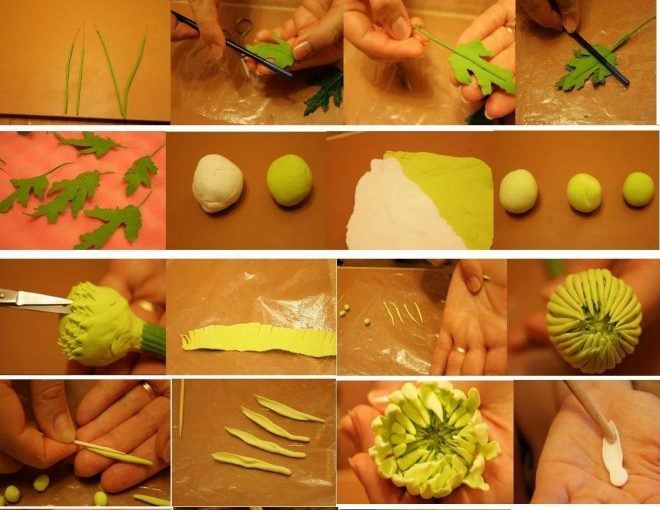
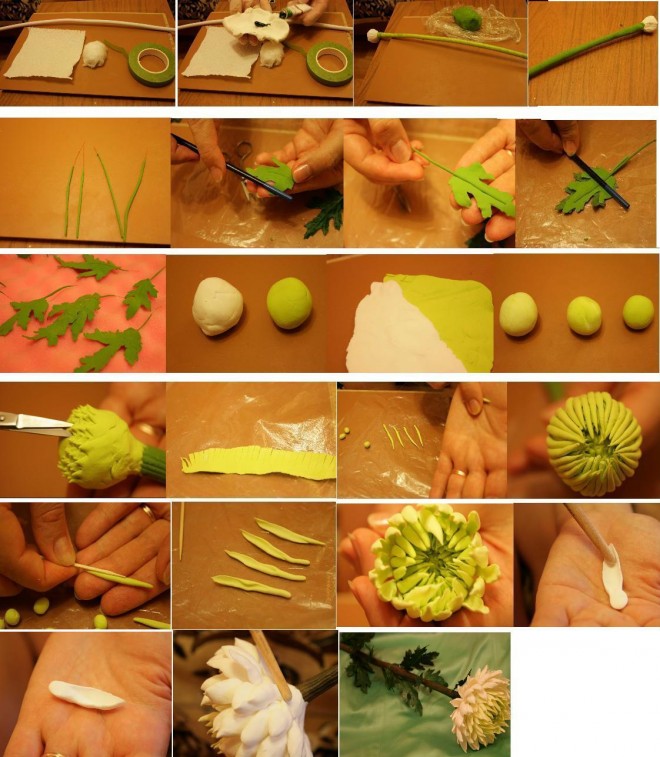
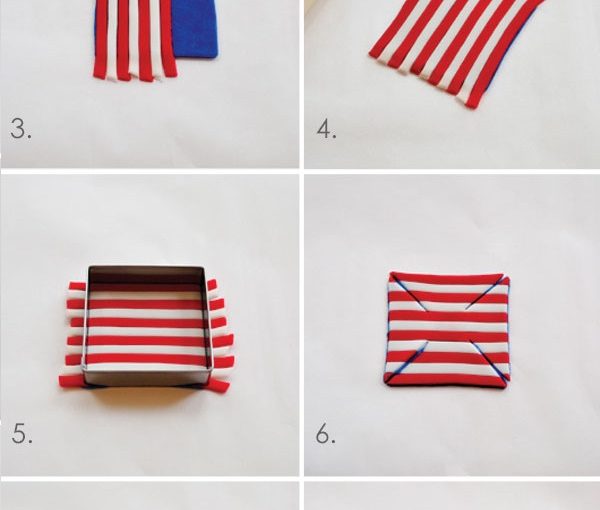
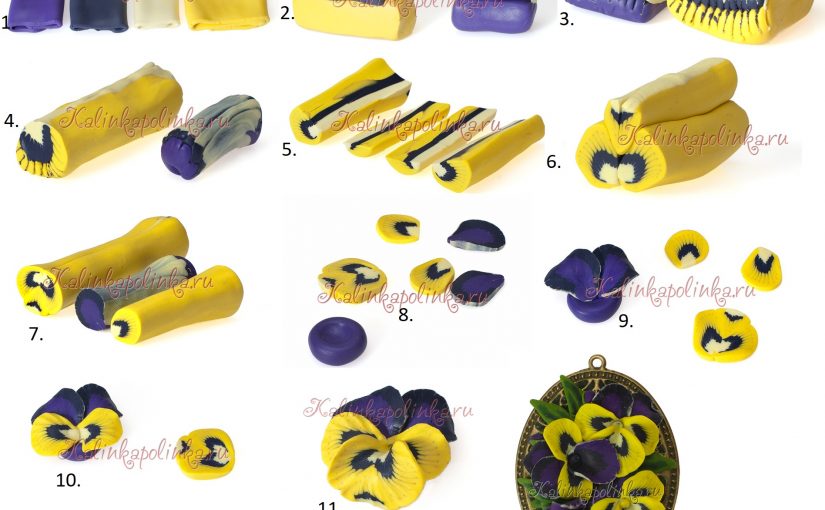
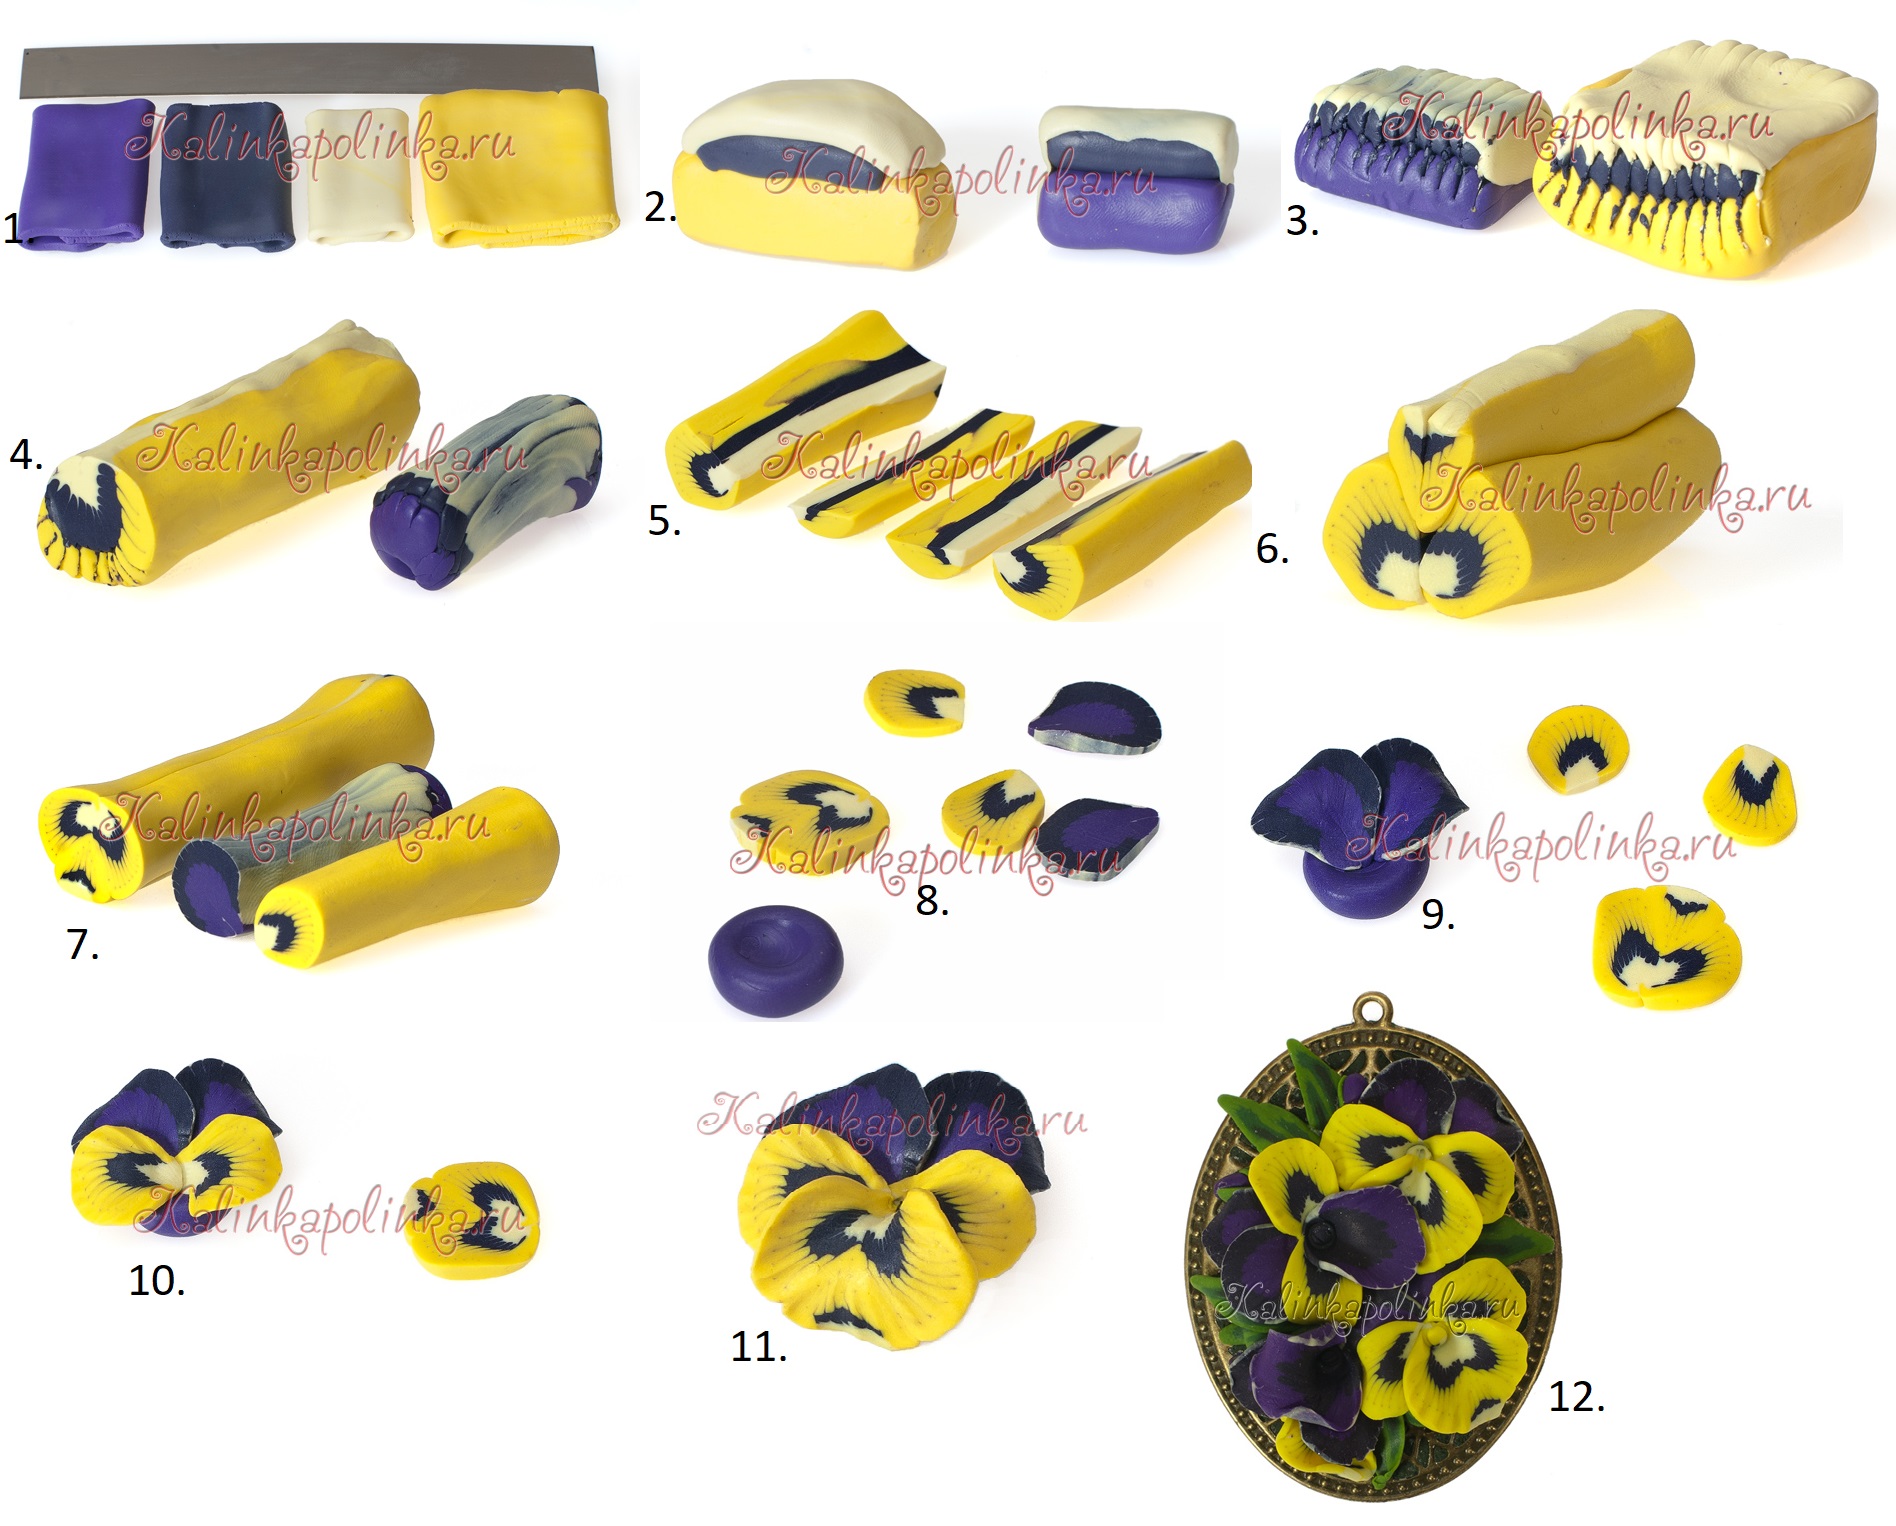
We’ll first create some canes for the petals and in my opinion they are simple to make. We will separate each color of clay into two. We’ll create a rectangle using two pieces of dark yellow, one of blue and one of light yellow. Later on this rectangle will form the first set of petals. For the second set of petals we’ll form the rectangle from two pieces of mauve, one of blue and one of light yellow.
After finishing the rectangles you will need to create the petal pattern. Using the larger part of the cutter you will have to make some lines into the rectangle, but do not go until the end. Use your fingers to round up a little bit the cane by pulling the wider color to the edge. Use 4th photo as example.
For the next step you will have to cut the yellow cane into three pieces and then you have to cut one piece once more into half. To combine the pieces and make the petal use the 6th photo.
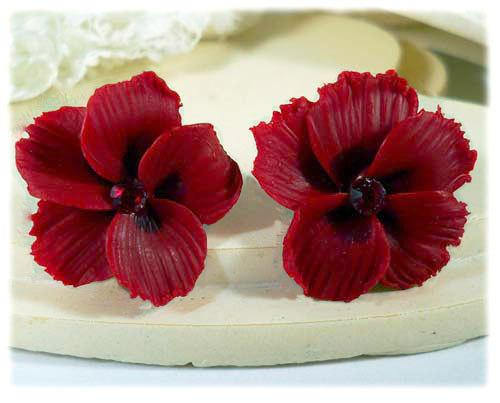
Cut small pieces from the canes to use them as the petals. For one polymer clay pansies you will need three yellow petals and two mauve. Congrats for finishing this polymer clay pansies tutorial.
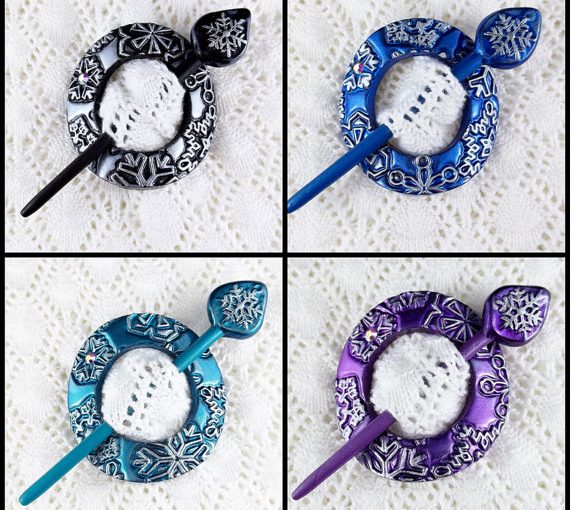
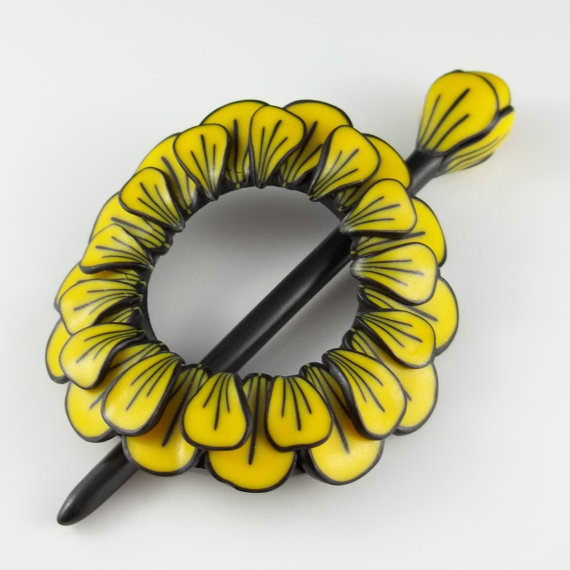
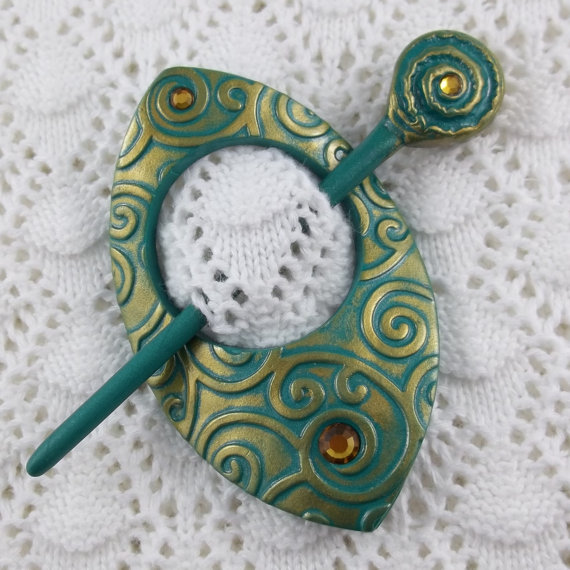
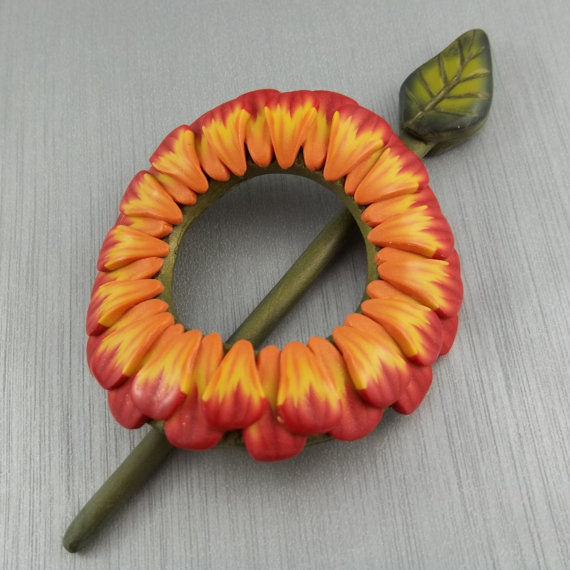
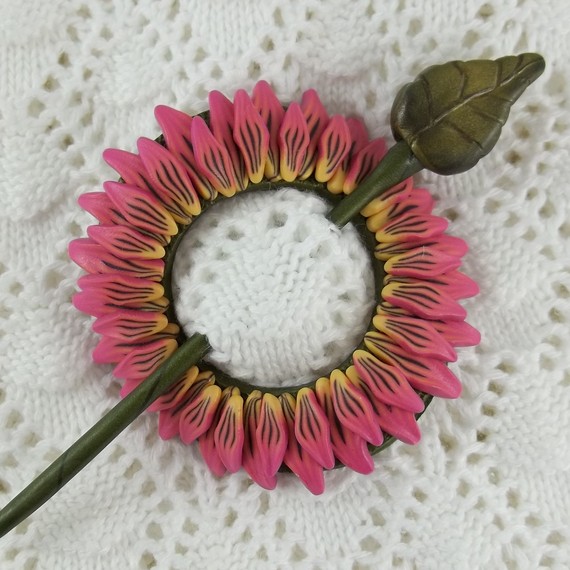
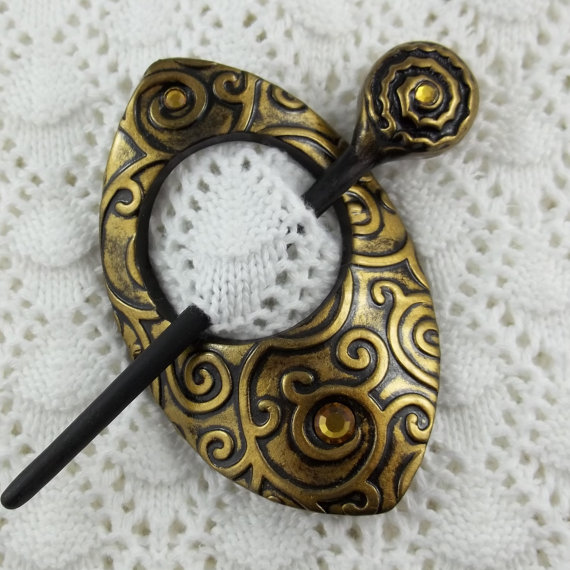
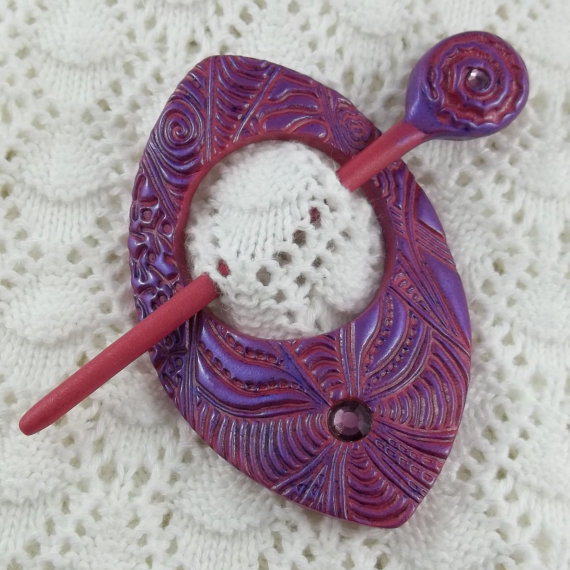
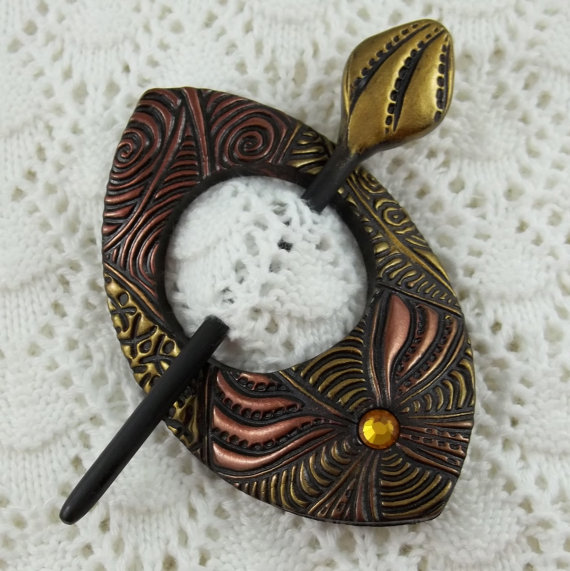
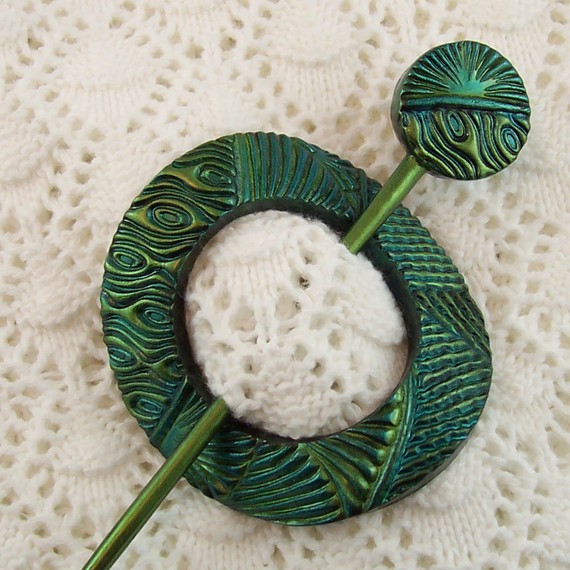
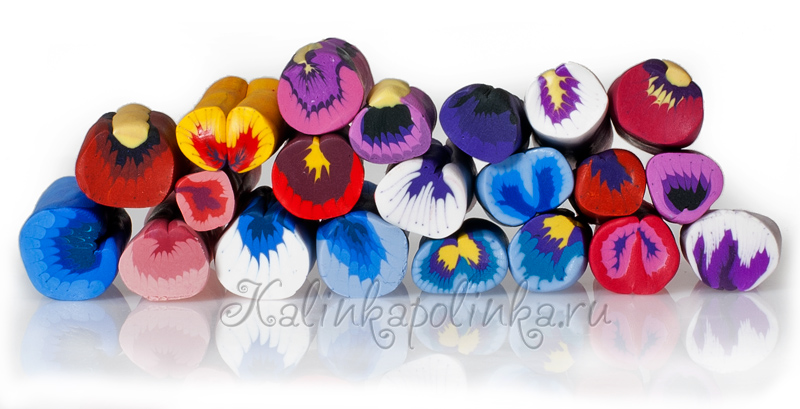
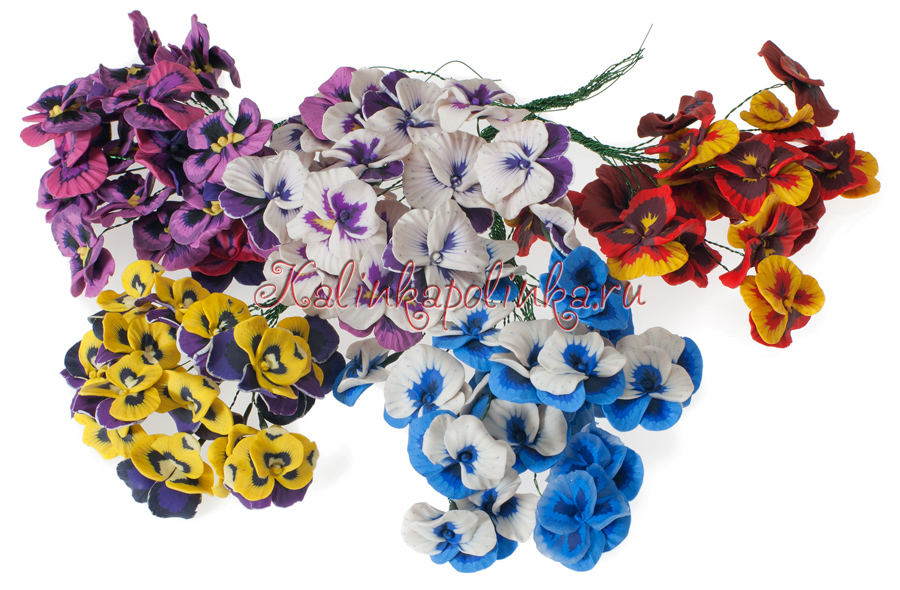
Here is photo of color variation you can use for your flowers.
Did you enjoyed this polymer clay pansies tutorial? I certainly did! I have to admit that the step by step instructions are well documented into photos! Also, I want to thank to the Basya64 for sharing with us this lovely polymer clay pansies tutorial on livemaster.ru.
Whether you’re browsing for inspiration or want something specific, I make it easy for you to get what you need. By following my Pinterest page you’ll be updated with new ideas and free step by step DIY tutorials.
######